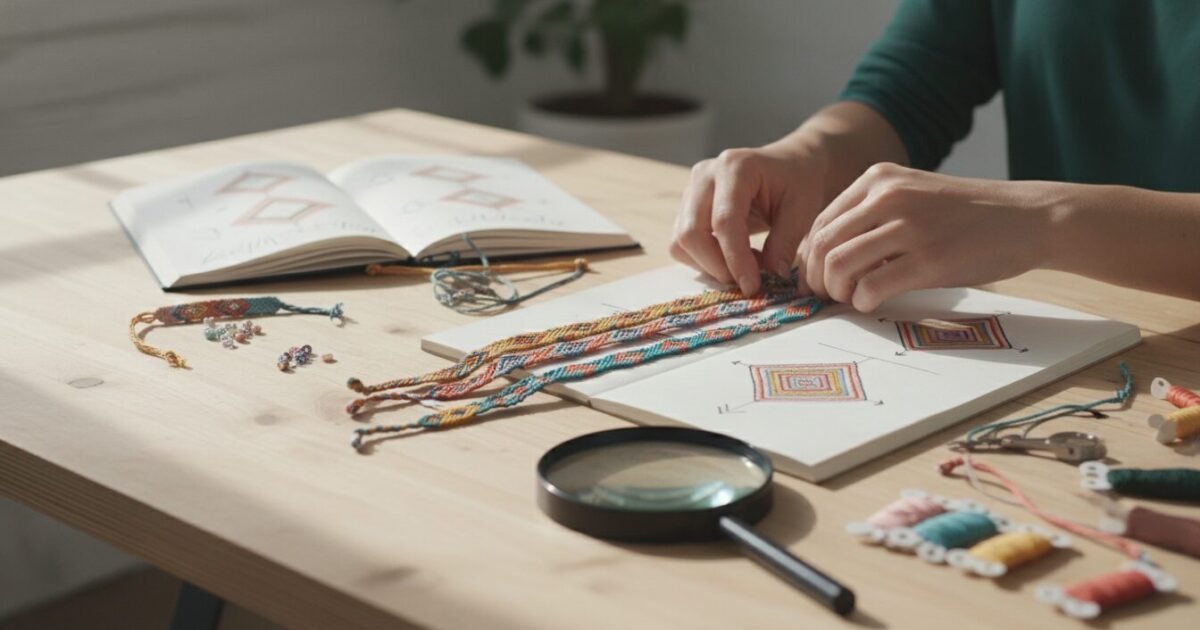
How to Tie a Bracelet Knot: Sliding, Stretch, and Friendship Knots
How to tie a bracelet knot is the skill of securing cord ends so beads stay put, closures hold firm, and bracelets survive daily wear. Match your knot to your cord: a surgeon’s knot for elastic stretch cord, a sliding overhand for adjustable styles, or stacked half-hitches for friendship bracelets.
Key Takeaways
- Match the knot to the cord: elastic needs a surgeon’s knot, non-stretch cord uses a sliding knot, and embroidery floss uses directional half-hitches.
- Always pre-stretch elastic cord before stringing beads to prevent the finished bracelet from shrinking after knotting.
- Allow roughly twice the desired finished length of cord when making adjustable sliding knot bracelets.
- Hide the knot under a cover bead and optionally secure it with a small dab of GS Hypo Cement for lasting hold.
- Friendship bracelets use four directional knots: forwards, backwards, forwards-backwards, and backwards-forwards.
- Beginners should start with the surgeon’s knot and simple sliding overhand before moving to square sliding or patterned friendship knots.
Quick Answer: To tie a bracelet knot, match the knot to your cord: use a surgeon’s knot for elastic stretch cord, a sliding overhand knot for adjustable bracelets, or stacked forward and backward half-hitches for friendship bracelets. Pull gently to lock each knot.
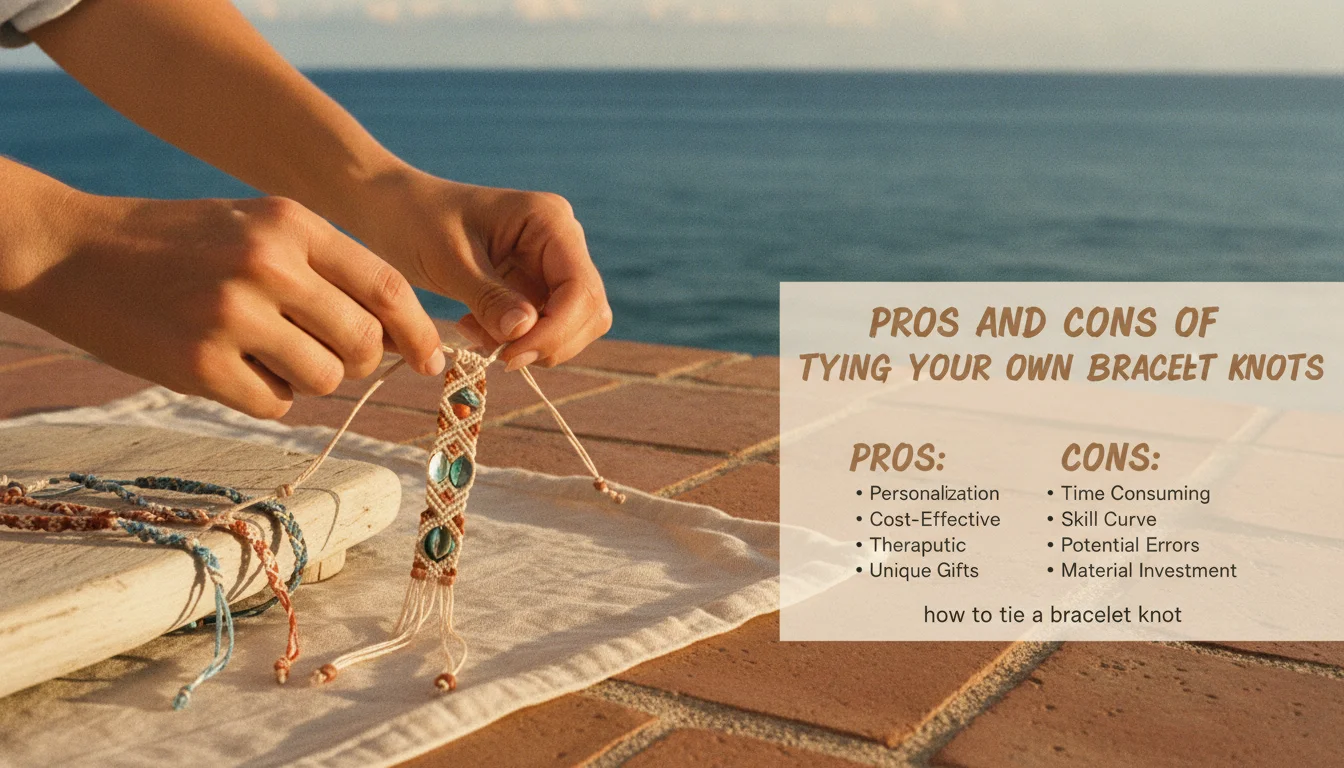
Pros and Cons of Tying Your Own Bracelet Knots
Pros
- Full control over fit: you size the bracelet to your exact wrist measurement before the final knot.
- No metal clasp needed: sliding knots and surgeon’s knots create clean, hardware-free closures that work beautifully on delicate cord jewelry.
- Easy to restring: once you know bracelet knot correctly, replacing worn elastic or refreshing a friendship bracelet takes minutes.
- Versatile across styles: the same core techniques apply to beaded stretch bracelets, macrame pieces, and woven friendship designs.
Cons
- Wrong knot on wrong cord can slip or snap: a sliding knot on elastic, for example, will not hold under repeated stretching.
- Elastic cord loses stretch over time and needs periodic restringing, especially with heavy beads.
- Friendship bracelet knots require consistent tension across every stacked half-hitch, which takes practice to master.
How to Tie a Bracelet Knot: Choosing Cord and Knot Type
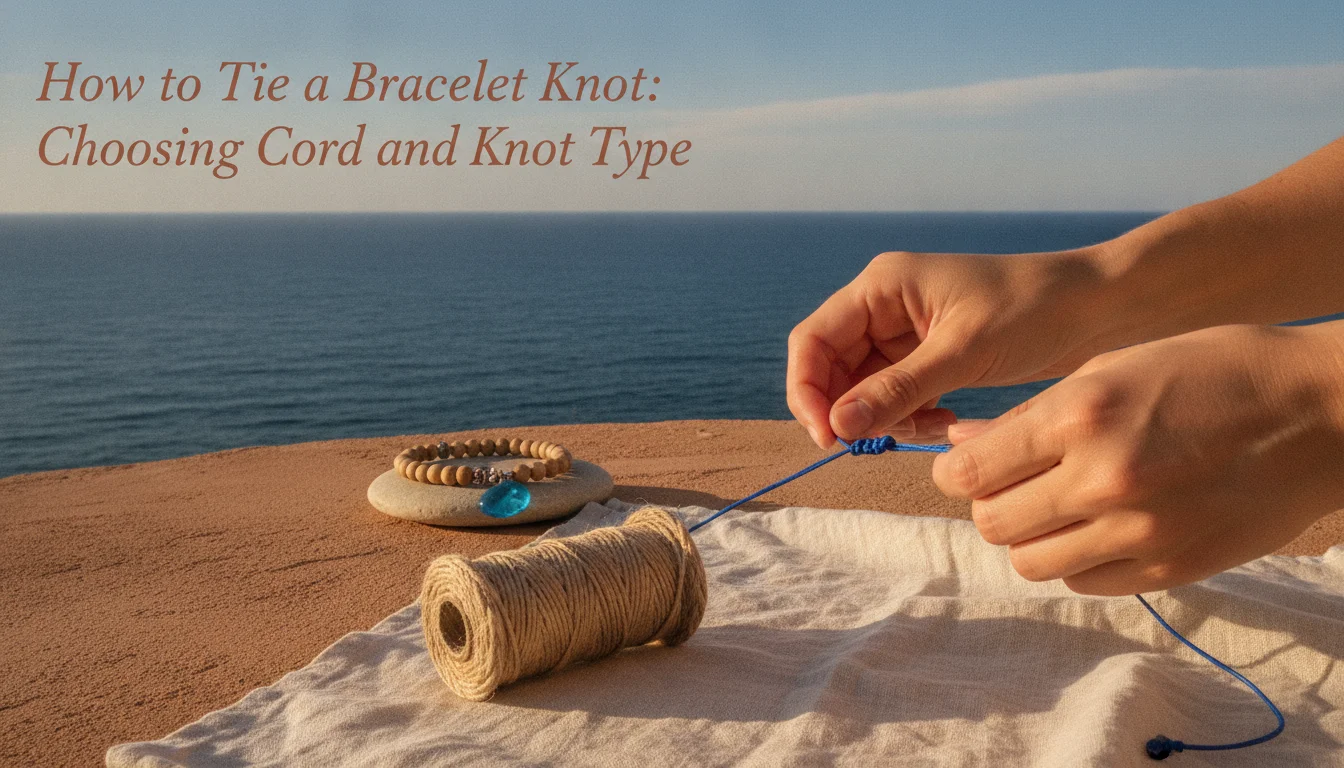
Knowing this type of knot begins with one decision: what cord are you using? Elastic stretch cord, waxed cotton, satin nylon, paracord, and embroidery floss all behave differently under tension, so knot selection must follow the material. The wrong pairing can slip, snap, or make a bracelet impossible to adjust.
Why Knot Choice Starts with Cord
According to Tejas Beads, a surgeon’s knot works well with elastic cord, smaller sized knotting cords, and monofilament polyethylene type stringing cable. Make and Fable recommends cord that is 1mm or thicker for sliding knots, including waxed cotton, satin, or knotting cord. For friendship bracelets, The Neon Tea Party uses Omegacryl yarn or embroidery floss. Each material has a different surface texture and stretch, which changes how tightly a knot can be pulled before it deforms.
Three Main Bracelet Cord Categories
- Elastic stretch cord: used for beaded bracelets that slip over the hand without a clasp; requires a knot that tightens against itself.
- Non-stretch cording: waxed cotton, satin nylon, paracord, or knotting cord; ideal for adjustable sliding closures because the cord does not stretch out of the knot.
- Embroidery floss or yarn: used in friendship bracelets; tied with stacked half-hitch knots that travel left or right across the bracelet body.
How to Tie a Bracelet Knot for Each Category
Once you know the cord type, this kind of bracelet knot becomes a sequence of matching techniques. Elastic stretch cord calls for a surgeon’s knot, non-stretch cord uses a sliding overhand or square sliding knot, and floss uses four directional knots. The sections below walk through each method step by step.
How to Tie a Bracelet Knot with Elastic Stretch Cord: Surgeon’s Knot
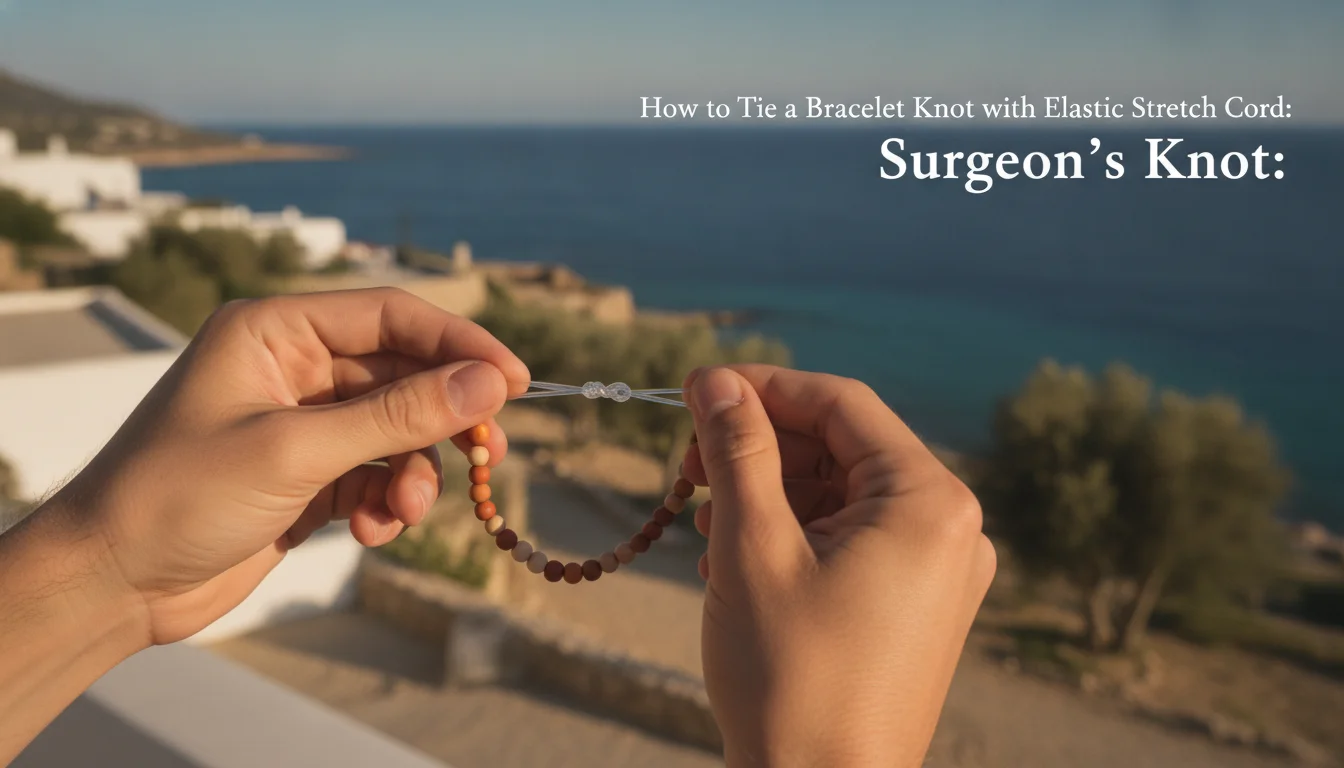
For elastic stretch cord, the most secure and widely recommended finish is the surgeon’s knot. This is the method shown by Knot Queen in her YouTube tutorials on the to tie a bracelet knot, and it is also the explicit recommendation from Tejas Beads. The surgeon’s knot is ideal for beaded bracelets because it holds under repeated stretching and everyday wear.
Step-by-Step Surgeon’s Knot for Elastic Cord
- Cross the loose ends of the elastic cord so one side sits on top of the other.
- With the side that sits on top, wrap it around the lower side 2 times.
- Pull the two ends so that the bracelet ends come together.
- Tie another knot in the same fashion, going through once or twice if the cover beads will fit over the knot.
- Pull the knot snug against the other knot.
- Cut the loose ends leaving about 1/8 inch so that the cord does not slip back through the knot.
- Slide a bead over the knot to hide it.
Why the Surgeon’s Knot Stays Secure
A surgeon’s knot is similar to a square knot with an additional cross-over in the first portion of the knot. The double knot design tightens against itself, which is why it is used in tying medical sutures. That same self-locking property makes it the best choice for elastic cord, which constantly stretches and relaxes as a bracelet is put on and taken off.
Hiding the Knot and Adding Extra Security
After tying, slide a bead over the knot to conceal it and protect it from friction against skin or clothing. For extra security, a small dab of GS Hypo Cement can be used on the knot to keep it from coming undone over time, according to Tejas Beads. Knot Queen also demonstrates a no-glue professional method that relies on careful pre-stretching and a second locking knot instead of adhesive. Both approaches work well.
Adjustable Sliding Knots for Non-Stretch Bracelets

Knowing how to tie a bracelet knot that slides is essential for any design without a clasp. Sliding knots let you adjust the bracelet over the widest part of the hand and then tighten it comfortably around the wrist. They are the easiest sliding knots to learn and work best on cord that is 1mm or thicker.
How a Simple Sliding Overhand Knot Works
A simple sliding knot is made using each end to create an overhand knot around the main body of the bracelet or necklace. The knot grips the main cord but can still slide along it when both tails are pulled. This adjustability makes the design practical for bracelets without metal findings.
Step-by-Step Simple Sliding Knot
- Cross the ends over. The ends should look like the ears of a bunny rabbit.
- Loop the right end over, under, and around the main part of the cord.
- Feed the end through the loop to create an overhand knot.
- Pull firmly, but so that the cord can still slide through the knot easily.
- Determine the size your bracelet needs to be by making sure it fits over the widest part of your hand. If you are making a necklace, make sure it goes over your head.
- Repeat steps 2 and 3 with the left end. You can make the knot right up to the previous one, or slightly further away. Be careful not to move the previous knot, or your bracelet might end up the wrong size.
- Pull the knot tight.
- Knot each end to make the bracelet easier to tighten. You can even add beads.
Adjusting Fit and Preventing Slippage
The knot at the end of a sliding knot bracelet is not decorative: it stops the cord from unraveling and prevents the sliding section from falling apart. To adjust, pull the two knot tails away from each other to tighten the bracelet, and pull the looped bracelet sides apart to loosen it. Always check the fit over the widest part of your hand before the final tightening.
The Square Sliding Knot: A Cleaner Adjustable Option
For a flatter, more symmetrical adjustable closure, many makers choose the square sliding knot. The square sliding knot sits neatly against the bracelet body and looks more finished than a single overhand loop, making it a popular choice for macrame and polished jewelry pieces.
How the Square Sliding Knot Differs from the Overhand
While a simple sliding overhand knot uses one end wrapped around the main cord, a square sliding knot uses each end to form a series of wraps that face opposite directions, creating a flat, symmetrical result. Make and Fable includes the square sliding knot as one of three sliding knot variations in their Macrame Jewellery eBook, alongside the barrel knot and an updated square sliding knot version.
Step-by-Step Square Sliding Knot
The process involves creating wraps with each cord end, pulling them snug without fully locking, and then sliding the knots toward each other to set the bracelet size. The result is a clean, flat closure that works well on cord 1mm and thicker. For a full visual walkthrough, the free tutorial from Make and Fable is an excellent reference.
When to Choose Square Sliding over Simple Sliding
Choose the square sliding knot when you want a more polished look or when working with thicker cords like paracord, where a single overhand may look bulky. The simple sliding overhand is faster and easier for beginners, while the square sliding knot suits macrame and finished jewelry pieces that call for a refined closure.
Friendship Bracelet Knot Guide: Four Directional Knots
Friendship bracelets use a completely different system. Instead of a single finishing knot, the entire bracelet is built from stacked half-hitch knots that move across strands. There are four basic friendship bracelet knots, and each one determines the direction the working strand will travel.
The Four Basic Friendship Bracelet Knots
- Forwards Knot: forwards knot followed by forwards knot.
- Backwards Knot: backwards knot followed by backwards knot.
- Forwards-Backwards Knot: forwards knot followed by backwards knot.
- Backwards-Forwards Knot: backwards knot followed by forwards knot.
Each friendship bracelet knot consists of two knots stacked together using the same two strands. The direction of travel is the key difference: forwards moves left to right, and backwards moves right to left.
Forward Knot Step-by-Step
- Start with the working strand on the left and the interior strand on the right.
- Keeping the interior strand straight, create the shape of a number 4 by bending the working strand and placing it on top of the interior strand.
- Wrap the working strand under the interior strand and pull it out through the loop on the left.
- Ride the knot up to the very top of your bracelet, keeping the interior strand straight as you do. Then pull tightly to secure.
- Repeat the process again, creating the number 4 shape the same way.
- Ride the knot up and pull to tighten. The working strand should now fall naturally to the right of the interior strand.
Backward Knot Step-by-Step
- Start with the working strand on the right and the interior strand on the left.
- Keeping the interior strand straight, create the shape of a P or backwards 4 by bending the working strand and placing it on top of the interior strand.
- Wrap the working strand under the interior strand and pull it through the loop on the right.
- Ride the knot up and pull tightly.
- Repeat the same backward knot once more to complete the backwards knot.
Forward-Backward and Backward-Forward Knots
The Forward-Backward Knot is a forwards knot followed by a backwards knot, which returns the working strand to its original side. The Backward-Forward Knot is the reverse: a backwards knot followed by a forwards knot. These combinations let you change direction within a pattern and create shapes like chevrons and diamonds. Basic supplies include Omegacryl yarn or embroidery floss, a tape measure, washi tape or a safety pin, and small scissors.
How to Tie a Bracelet Knot with One String or a Loop
Some bracelet designs use a single cord or a loop on one end instead of two loose tails. Understanding how to tie a bracelet knot in these configurations opens up a wider range of styles, from minimalist single-strand pieces to elastic bracelets with a pre-formed loop closure.
Loop-in-the-Middle Method for Elastic Bracelets
A loop in the middle of elastic cord lets you string beads on both tails and then tie the ends through the loop. This method, shown in Creative Fnk and Bracelet Addiction tutorials, reduces the number of loose ends and creates a clean closure for beaded stretch bracelets. The final knot still needs to be a surgeon’s knot or a similarly secure elastic finish.
Adjustable Loop Closure with Two Pulls
For bracelets with two pull cords, each end forms a sliding knot around the opposite cord. Pulling the two knot tails away from each other tightens the bracelet, while pulling the bracelet loops apart loosens it. This is the same principle as the simple sliding overhand knot, and it directly answers the common question of how to tie a bracelet that has two pulls to tighten.
One-String Bracelet Knots
A one-string bracelet can be finished by tying an overhand loop at one end and a stopper knot at the other, or by tying a sliding knot around the standing part of the cord. The stopper knot should be large enough to hold in the loop but small enough to pass through any beads. Test the fit before trimming the tail.
How to Tie a Bracelet Knot That Won’t Come Undone
The most common frustration in bracelet making is a knot that loosens over time. For any cord type, the key to tying a bracelet knot that stays secure is preparation, proper technique, and sometimes a small amount of adhesive.
Pre-Stretching Elastic Cord
Quality elastic stretch cord should always be pre-stretched before stringing beads. Pull the cord gently along its entire length a few times to remove initial stretch. Then, when tying, take extra time gently pulling the knot tight to make sure it is locked in place, as Knot Queen recommends in her tutorials. Pulling too hard can cause the cord to snap or make the bracelet smaller than intended.
Adding Glue or Cement
For extra security on elastic cord, a small dab of GS Hypo Cement can be used on the knot to keep it from coming undone over time. Tejas Beads recommends this as an optional finishing step. Knot Queen also teaches a no-glue professional method that uses careful pre-stretching and a second locking knot. Both approaches work; the choice depends on whether you prefer a stiff knot or a purely mechanical lock.
Common Mistakes That Loosen Knots
- Not pre-stretching elastic cord, which causes the knot to loosen as the cord relaxes.
- Pulling the knot too hard and snapping or weakening the cord.
- Leaving tails that are too short to hold, or cutting tails too close without a cover bead.
- Tying only one overhand knot on elastic instead of the double-wrap surgeon’s knot.
- Forgetting to slide a bead over the knot, leaving it exposed to friction.
“Use a quality elastic stretch cord and take extra time gently pulling the knot tight to make sure it’s locked in place.” – Knot Queen, YouTube bracelet tutorials
“For extra security, a small dab of GS Hypo Cement can be used on the knot to keep it from coming undone over time.” – Tejas Beads, The Jewelry Maker Blog
Tools and Materials for Secure Bracelet Knots
Having the right tools makes learning how to tie a bracelet knot much easier. You do not need a large kit, but a few specific items will help you tie consistent, secure knots across all bracelet types.
Cord Types and Size Guidance
Make and Fable suggests using cord that is 1mm or thicker for sliding knots, in waxed cotton, satin, or knotting cord. For elastic bracelets, Tejas Beads notes that a surgeon’s knot works well with elastic cord, smaller sized knotting cords, and monofilament polyethylene type stringing cable. For friendship bracelets, The Neon Tea Party recommends Omegacryl yarn or embroidery floss in a variety of colors.
Essential Supplies for Knotting
- Scissors: small, sharp scissors for trimming tails cleanly.
- Tape measure: to measure wrist size and cord length.
- Washi tape or safety pin: to anchor friendship bracelet work in place.
- Beads and cover beads: to hide knots and add decoration.
- GS Hypo Cement or jewelry glue: optional for extra knot security.
- Extra cord: allow about twice the desired finished length for sliding knot bracelets.
When to Replace Cord
Elastic cord loses its stretch over time and may fray from friction inside bead holes. If a bracelet no longer returns to its original size after being stretched, or if the cord feels rough or fuzzy near the knot, it is time to restring. Non-stretch cords like waxed cotton and paracord are more durable but should still be inspected for wear before tying a new bracelet knot.
Troubleshooting Bracelet Knot Problems
Even experienced makers run into problems with bracelet knots. These are the most common issues and how to fix them.
Bracelet Gets Smaller When Tying Elastic
This happens when the cord is not pre-stretched, or when the knot is pulled too tight and shortens the bracelet. To avoid it, pre-stretch the cord, tie gently, and check the fit on the wrist before the final tightening. Leave the bracelet slightly larger than the wrist measurement to account for elastic compression.
Knot Won’t Slide Smoothly
A sliding knot should be pulled firmly but still allow the cord to slide through easily. If the knot is too tight, it will not adjust. If it is too loose, it will slip during wear. Use a waxed cord to reduce friction, and pull the knot gradually until you find the right tension.
Knot Too Bulky to Hide
If the knot is too large to fit under a cover bead, reduce the number of wraps in the surgeon’s knot, switch to a thinner cord, or choose beads with larger holes. Tejas Beads recommends cutting the loose ends to about 1/8 inch and sliding a bead over the knot to hide it, so the knot must be small enough to fit inside the chosen bead.
Comparison Table: Bracelet Knot Types at a Glance
The table below compares the main bracelet knot types so you can quickly choose the right one for your project.
| Knot Type | Best For | Cord Type | Security | Adjustability | Difficulty |
|---|---|---|---|---|---|
| Surgeon’s Knot | Elastic beaded bracelets | Elastic stretch cord | High | None | Beginner |
| Simple Sliding Overhand | Adjustable bracelets and necklaces | Waxed cotton, satin, paracord 1mm+ | Medium | High | Beginner |
| Square Sliding Knot | Macrame and finished jewelry | Knotting cord, paracord 1mm+ | Medium | High | Intermediate |
| Forward/Backward Friendship Knots | Friendship bracelets | Embroidery floss or Omegacryl yarn | High when stacked | None | Beginner to Intermediate |
| Loop-in-the-Middle Knot | Elastic bracelets with loop closure | Elastic stretch cord | High | Low | Intermediate |
Choosing Based on Bracelet Style
For a beaded stretch bracelet that slips over the hand, use a surgeon’s knot. For a bracelet without a clasp that needs to adjust, use a simple sliding overhand or square sliding knot. For a friendship bracelet made from floss, learn the four directional knots and stack them consistently. The correct approach to how to tie a bracelet knot always depends on the bracelet style and closure type.
Skill Level Recommendations
Beginners should start with the simple sliding overhand knot and the surgeon’s knot, because both require only basic wraps and pulls. Intermediate makers can practice the square sliding knot and the directional friendship bracelet knots. Once comfortable, you can combine techniques to create more complex adjustable closures and patterned friendship bracelets.
Frequently Asked Questions
How to tie a good knot for a bracelet?
Match the knot to your cord. For elastic, use a surgeon’s knot with a double wrap. For non-stretch cord, use a sliding overhand knot. For floss, stack two half-hitch knots in the correct direction and pull gently to seat each one.
How to tie a moving knot for a bracelet?
Tie a simple sliding overhand knot around the opposite cord. Loop one end over, under, and around the main cord, then feed it through its own loop. Repeat on the other side to create two pulls that tighten and loosen the bracelet independently.
How do you tie a bracelet knot so it doesn’t come undone?
Pre-stretch elastic cord before stringing, use a surgeon’s knot with a double first wrap, add a second overhand knot on top, and optionally apply GS Hypo Cement. Leave about 1/8 inch tails and hide the finished knot under a cover bead to protect it from friction.
How to tie a bracelet that has two pulls to tighten?
Tie a sliding overhand knot with each cord end around the opposite cord. Pull the two knot tails away from each other to tighten the bracelet, and pull the bracelet loops apart to loosen it. This two-pull sliding system works best on cord that is 1mm or thicker.
What is the best knot for stretchy bracelets?
A surgeon’s knot is the most secure choice for elastic stretch cord because its double first wrap tightens against itself. Tie an additional overhand knot on top and hide the finished knot under a cover bead for a clean, lasting result.
How much cord do I need for a sliding knot bracelet?
Allow roughly twice as much cord as the desired bracelet length to have enough for sliding knots on both ends. For necklaces, also confirm the finished loop fits over your head before tying the final knots.
Ready to Wear the Knots You’ve Tied?
Now that you know how to tie a bracelet knot for every cord type and closure style, the only thing left is to wear your work beautifully. Whether you’re layering beaded stretch bracelets for a Santorini afternoon or knotting a friendship bracelet before a coastal weekend, the right knot makes every piece feel intentional. Browse the full jewelry and accessories collection at lexazi.com for bracelets, sandals, and resort-ready pieces that pair perfectly with everything you make and wear. Free shipping on orders over $75.