How to make rubber band bracelets means looping small elastic bands together using your fingers, a hook, or a loom to create colorful, stretchy accessories. With basic patterns like the single chain, you can finish a bracelet in about 15 minutes.
Key Takeaways
- Rubber band bracelets are a fun, accessible craft for all ages, from kids to adults.
- You can learn band bracelets using just your fingers and a C-clip, no tools required.
- Master the single-chain pattern first, then progress to fishtail, inverted fishtail, or loom designs.
- Different methods (fingers, hook, loom) suit different skill levels; choose based on the tools you have and the complexity you want.
- Consistent tension and quality bands are the two biggest factors in a durable, comfortable bracelet.
- Loom bands are widely available at craft stores like Hobby Lobby and Michaels, and on Amazon.
What Are Rubber Band Bracelets?
Rubber band bracelets are handmade accessories crafted by linking small, colorful elastic bands into chains, braids, or woven patterns. They’re one of those crafts that feel almost meditative once you get the rhythm: loop, pull, repeat. The result is a stretchy, lightweight bracelet you can stack, gift, or wear straight into the water.
The Rise of Rainbow Loom and Loom Bands
Loom band bracelets surged in popularity in the early 2010s, fueled by the Rainbow Loom kit and a wave of YouTube tutorials that made intricate patterns feel achievable for anyone. Even without a loom, crafters quickly discovered this type of bracelets using just their fingers or a simple crochet hook. Today the craft remains a favorite for its affordability, its creative range, and the satisfying tactile process of linking bands together.
Types of Rubber Bands Used for Bracelets
Not all elastic bands are created equal. The most common type is the standard loom band: a soft, stretchy band (often latex-free silicone) available in thousands of colors and finishes, from matte and neon to glitter and glow-in-the-dark. According to The Crafty Blog Stalker, loom bands are small enough to stretch over a finger but not much more, which gives them the tight, consistent tension that makes linked patterns hold their shape. When you’re first learning this kind of band bracelets, standard-size loom bands are the best starting point because they’re widely available and compatible with virtually every tutorial.
Essential Supplies for Making Rubber Band Bracelets
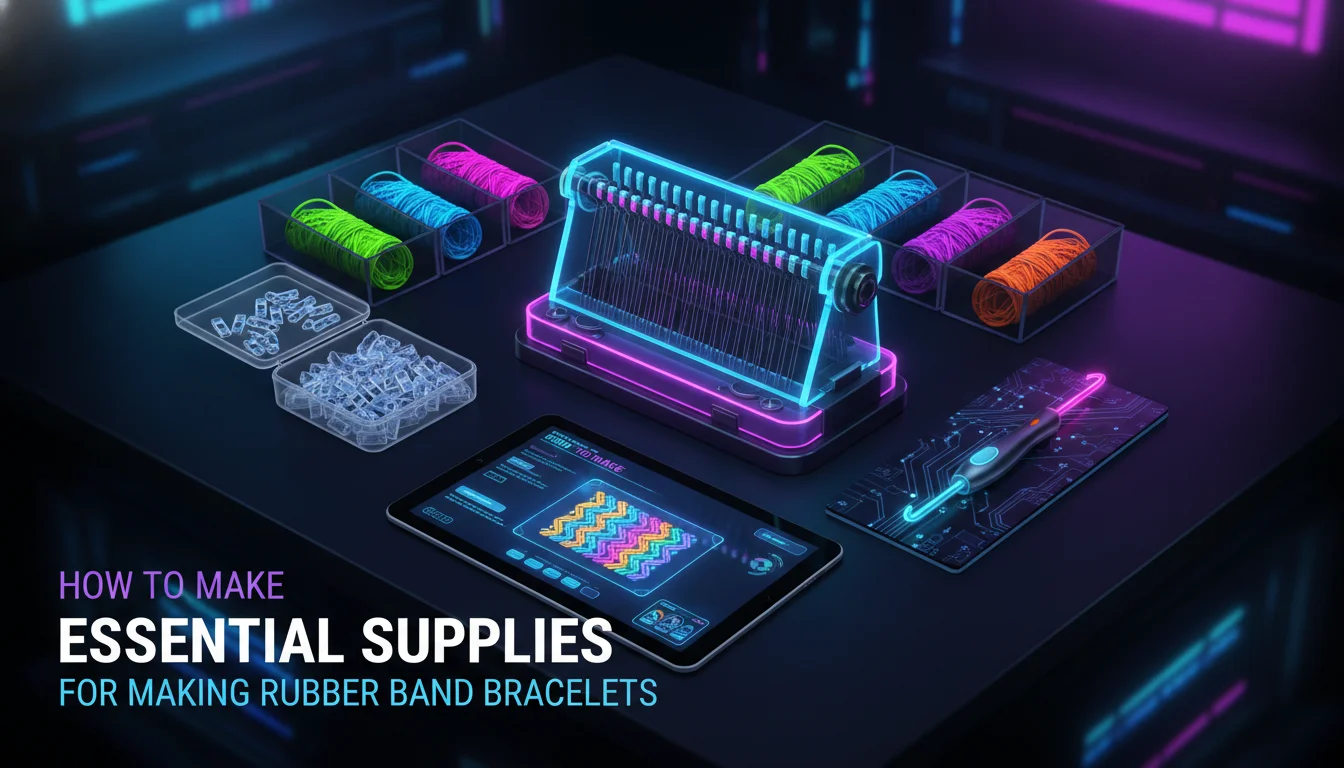
The right supplies make the to make rubber band bracelets feel effortless rather than frustrating. You need very little to get started, and most of it costs under $10.
Rubber Bands (Loom Bands vs. Silicone Bands)
Loom bands are distinctly different from industrial silicone bands. Craft loom bands are thin and designed for easy manipulation by hand, with high elasticity and consistent thickness that ensures uniform tension in each stitch. Industrial silicone bands, like those used for custom event wristbands, are thicker and far less stretchy. For DIY enthusiasts, loom bands are the go-to material, and you can find them at any local craft store, including Hobby Lobby and Michaels, or on Amazon in bulk packs.
Looms, Hooks, and Other Tools
While it’s entirely possible to learn bracelets with no tools at all, having a few essentials expands your design options considerably. A Rainbow Loom board is a plastic grid with rows of removable pegs, allowing for complex patterns. A metal or plastic hook (similar to a crochet hook) helps pick, pull, and loop bands with precision. Many crafters also use a simple two-prong fork or their own fingers. According to The Cheese Thief’s YouTube playlist, even a two-peg setup can produce bracelets like the “Fusilli” or “Rio Rio” patterns, which means portability is never a barrier.
Clips and Fasteners
Almost all rubber band bracelets need a closure to stay intact. The standard fastener is a small C-clip (or S-clip) made of clear or colored plastic. These clips have a central bar that the first and last bands loop onto. Some crafters prefer metal lobster clasps or knots made from folded bands for a cleaner look. High-quality clips matter because cheap ones can snap under tension, undoing all your work in a second.
How to Make Rubber Band Bracelets with Your Fingers (Step-by-Step)
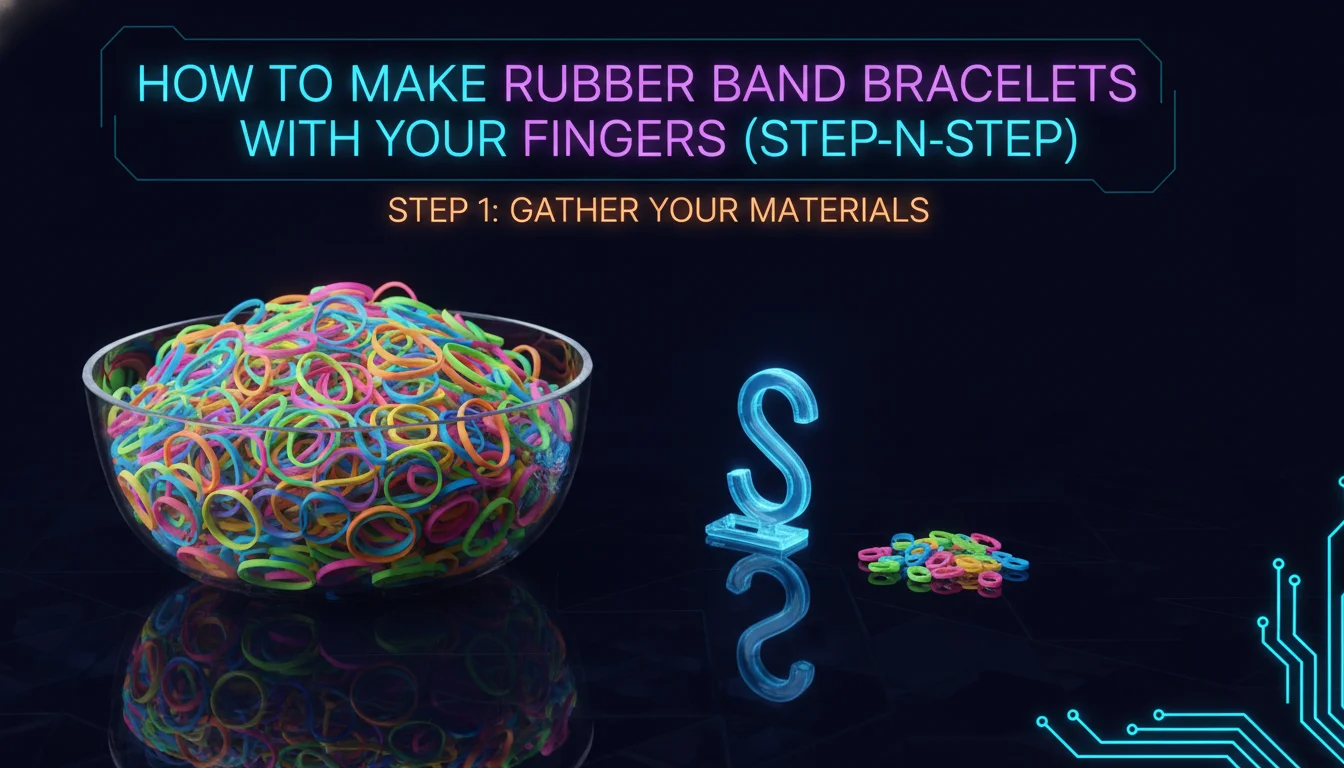
Learning how to with your fingers is the fastest way to start. No loom, no hook, just your hands and a C-clip.
Single-Chain Bracelet (Beginner)
The single-chain bracelet is the foundational pattern for anyone learning band bracelets. It requires only your fingers and a C-clip. According to The Crafty Blog Stalker, the entire process takes about 15 minutes and is a great starting point for kids and adults alike.
Step 1: Choose your first loom band and flatten it into an oval shape between your fingers.
Step 2: Slide one end of the C-clip through the oval so the band secures around the clip’s center bar.
Step 3: Take a second band, flatten it, and thread it through the two loops of the first band, just like linking paper clips.
Step 4: Pull the second band through and hook its opposite end over your finger to hold tension.
Step 5: Repeat the process, adding bands one after another until the chain reaches your desired wrist length.
Step 6: Once long enough, slip the last band’s two loops onto the open side of the C-clip. Your bracelet is complete.
Single-Chain Bracelet Troubleshooting Tips
If your bracelet feels uneven, check that you’re flattening each band consistently before threading. A common mistake is twisting the band, which creates a lumpy chain. Also, make sure the C-clip is facing the right way: the open curve should point toward the band you’re working on. Should a band snap, simply unloop the previous band, replace the broken one, and continue. Keep a gentle but firm tension to keep the links snug without overstretching.
How to Make Rubber Band Bracelets Without a Loom
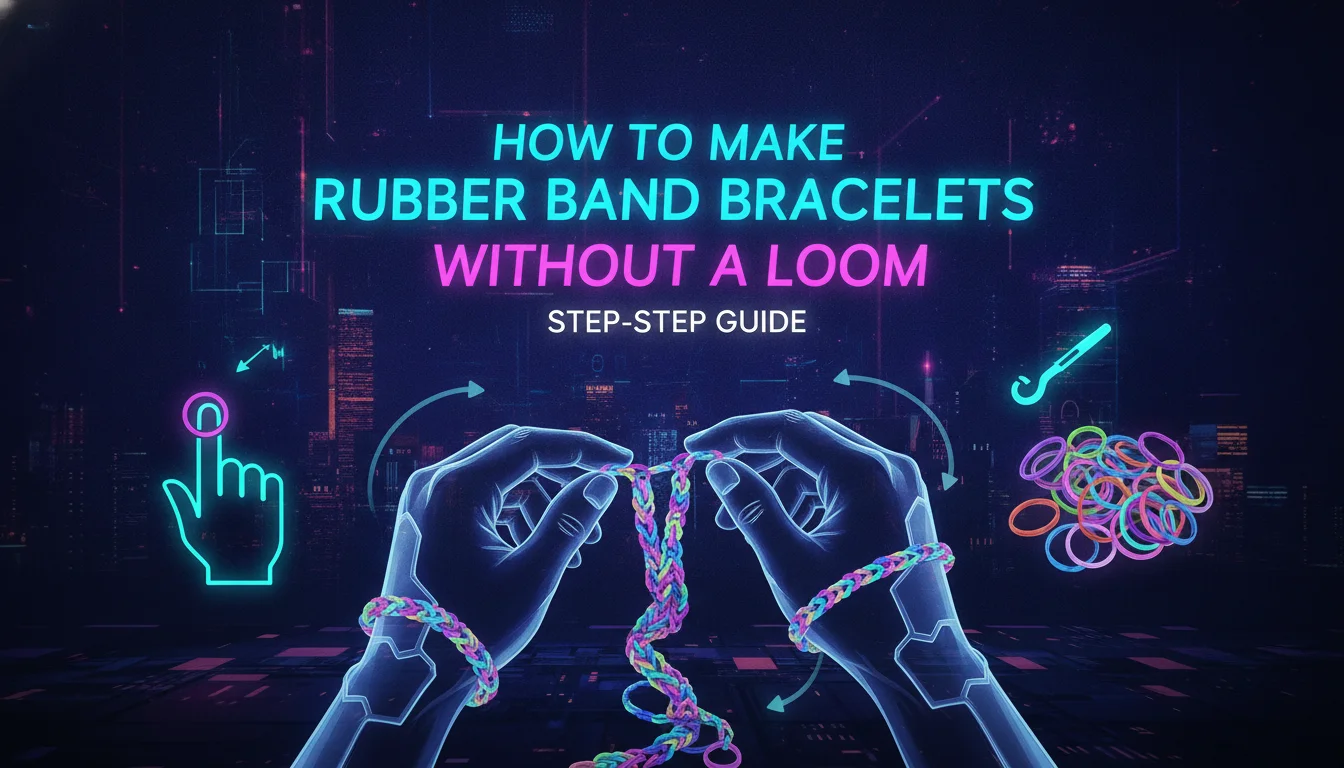
You don’t need a loom board to create impressive patterns. Some of the most popular ways to make rubber band bracelets use nothing more than two fingers or a fork.
Fishtail Bracelet Using Your Fingers
The fishtail bracelet introduces a braided appearance without any tools. To learn this type of bracelets in a fishtail pattern, start by placing a figure-eight band around your index and middle fingers. Add two regular bands above it. Hook the bottom band from each finger over the top bands and off your fingers. Repeat, adding one band at a time and pulling the bottom band over. This creates a clean V-shaped braid. Pink Cloud’s DIY tutorial on YouTube demonstrates exactly how easy it is to progress from a single chain to a fishtail, and the technique is the same whether you use fingers or a fork.
Fishtail Bracelet with a Hook or Fork
If finger fatigue sets in, switching to a hook or a two-prong fork gives you the same result with less strain. Place bands around the fork tines as you would on fingers, then use the hook to pull the bottom band over. This method is excellent for learning this kind of band bracelets when you want more control over tension. The Cheese Thief’s no-loom tutorials include an “Easy Knotted Fishtail Bracelet” that combines the fishtail with a knotted twist for extra texture, and it’s one of the most-watched patterns in the playlist.
Two-Peg Patterns: Rio Rio, Fusilli, and Heartbeat
Once you’re comfortable with the fishtail, two-peg patterns open up a whole new range of designs. The Cheese Thief’s playlist features the “Rio Rio Bracelet,” the “Fusilli Bracelet,” and the “Heartbeat” pattern, all made with just two pegs and no hook. These are ideal for crafters who want more structure than fingers alone but aren’t ready to commit to a full loom board. The results look far more complex than the process actually is.
How to Make Rubber Band Bracelets with a Rainbow Loom
A Rainbow Loom board takes the to make rubber band bracelets to a new level of complexity and color. The loom holds tension for you, freeing your hands to focus on placement and pattern.
Setting Up the Loom
A Rainbow Loom kit typically comes with a plastic loom board, a hook, a bag of bands, and C-clips. Arrange the loom so the pegs face upward, with the arrow pointing away from you. Most patterns require you to place bands in specific arrangements across the pegs. A simple single-row bracelet uses only one line of pegs, while more complex designs use two or three rows. Always check the pattern’s setup before you start looping.
Creating a Simple Loom Bracelet
Place a band diagonally from one peg to the next, repeating down the row. Then use the hook to pull the bottom band over the top on each peg. Continue across, and once you reach the end, secure with a C-clip and remove from the loom. Learning bracelets on a loom opens the door to patterns like the “Quadruple Single,” the “Rainbow Staircase,” and the “Heartstring,” all featured in The Cheese Thief’s extensive tutorial collection.
Advanced Loom Patterns: Royal Hearts, Tangled Hearts, and More
The loom’s real power shows in patterns like “Royal Hearts” and “Tangled Hearts,” both featured in The Cheese Thief’s playlist. These designs use multiple rows of pegs and layered looping sequences to create bracelets that look almost architectural. The “Heartstring” pattern is another standout: it uses a no-hook technique and produces a delicate, linked-heart chain that’s surprisingly fast to make once you understand the sequence. These are the kinds of bracelets that make people stop and ask where you bought them.
| Method | Tools Needed | Difficulty | Time | Best For |
|---|---|---|---|---|
| Fingers (Single Chain) | Loom bands, C-clip | Beginner | 10–15 min | Kids, quick projects |
| Fingers (Fishtail) | Loom bands, C-clip (optional) | Intermediate | 15–20 min | Fun patterns without tools |
| Hook Only | Loom bands, crochet hook or loom hook | Intermediate | 15–25 min | Detailed designs, portability |
| Two-Peg (No Hook) | Loom bands, two pegs or fork | Intermediate | 15–25 min | Rio Rio, Fusilli, Heartbeat patterns |
| Rainbow Loom | Loom board, hook, bands, C-clips | Beginner to Advanced | 20–40 min | Complex, multi-color bracelets |
| 4-Finger Method | Loom bands, C-clip | Intermediate | 15–25 min | Braided or woven looks |
Advanced Patterns and Designs
Once you’ve mastered the basics of how to, the real fun begins. Advanced patterns reward patience with results that look genuinely impressive.
Inverted Fishtail and Knotted Fishtail
The inverted fishtail is made by looping bands in reverse order, resulting in a dual-color braid that appears to weave inward. A knotted fishtail introduces a slipknot twist between sections, creating a segmented look with extra texture. Both are achievable without a loom, using just your fingers or a hook. The Cheese Thief’s playlist includes both an “Easy Knotted Fishtail” and a “Double Inverted Fishtail” tutorial, each demonstrating that learning how to make rubber band bracelets is really just the beginning of a highly customizable craft.
Multi-Color and Patterned Bracelets
Creating patterns is one of the most rewarding parts of rubber band bracelet making. By alternating colors in a sequence, such as three bands of one color followed by two of another, you can produce stripes, checkerboards, or ombre effects. Some crafters thread alphabet beads onto bands to create name bracelets. With a Rainbow Loom and a bit of patience, you can replicate intricate designs like “Tangled Hearts” or “Royal Hearts,” both featured in The Cheese Thief’s collection.
Charms and Decorative Add-Ons
Go beyond solid colors by mixing translucent bands with opaque ones, or adding charms: small pendants that slide onto the band chain. The Cheese Thief’s playlist even includes a “Lollipop Candy Charm” and a “Tiny Star Charm” tutorial, both of which can be attached to a finished bracelet for a personalized touch. Some kits include decorative beads, letter tiles, or themed charms that dangle from the chain, turning a simple bracelet into a statement piece.
Troubleshooting Common Problems
Even experienced crafters run into issues. Here’s how to fix the most common ones when learning how to make rubber band bracelets.
Bracelet Too Tight or Too Loose
Tension is everything. If your bracelet curls or feels tight, you’re pulling the bands too forcefully during linking. Try a looser grip or slightly thicker bands. If it slides off your wrist, add a few more bands to increase length, or use a smaller clip. One tip from experienced crafters: count the number of bands you use for a perfect fit, then replicate that count every time.
Bands Breaking or Slipping
Low-quality bands are prone to snapping, especially when stretched repeatedly. Investing in reputable brands makes a real difference. If a band does break, splice in a replacement by unhooking the affected area and redoing a few links. To prevent bands from slipping off your fingers, keep your hands dry and skip the lotion before you sit down to craft.
“Starting with the single chain builds essential skills. Once you get the rhythm, you can experiment with colors and patterns to make each bracelet unique.” – Katie Adams, The Crafty Blog Stalker
“Even a two-peg setup can yield surprisingly intricate results. The Fusilli and Rio Rio patterns prove that you don’t need a full loom to create something beautiful.” – The Cheese Thief, YouTube Tutorial Series
Pros and Cons of Making Rubber Band Bracelets
Pros
- Extremely affordable: A bulk pack of loom bands costs well under $10 and yields dozens of bracelets.
- No special skills required: The single-chain method can be learned in minutes by kids and adults alike.
- Highly customizable: Thousands of color combinations, patterns, and charm options mean no two bracelets need to look the same.
- Portable craft: You can learn how to make rubber band bracelets anywhere, no power or workspace needed.
- Great for gifting: Handmade friendship bracelets are thoughtful, personal, and cost almost nothing to make.
Cons
- Bands can snap: Low-quality loom bands break under tension, especially with repeated stretching.
- Finger fatigue: Extended sessions of finger-looping can tire your hands; switching to a hook or fork helps.
- Clip failures: Cheap C-clips can pop open, causing the bracelet to unravel at the worst moment.
- Learning curve for complex patterns: Advanced loom designs like Royal Hearts or Tangled Hearts require patience and several practice runs.
Creative Ideas for Rubber Band Bracelets
Friendship Bracelets and Gifts
Rubber band bracelets make thoughtful, personalized gifts. Create matching sets for best friends or party favors for birthday celebrations. As shared by The Crafty Blog Stalker, her daughters made friendship bracelets for school friends and even crafted miniature versions for their teddy bears. The simplicity and speed of learning how to make rubber band bracelets mean you can produce a whole batch in a single afternoon.
Stacking and Styling
One of the best things about loom band bracelets is how well they stack. Layer a single-chain bracelet in a neutral color with a bold fishtail and a charm-accented design for an arm party that looks intentional. Mix matte bands with glitter ones for contrast, or stick to a tight color palette for a more polished look. The bracelets are lightweight enough that wearing five or six at once never feels bulky.
Industrial Method: Silicone Rubber Bracelet Production
How Custom Silicone Bracelets Are Made
While DIY enthusiasts work with small elastic bands, commercial silicone bracelets (like awareness wristbands) are manufactured through an entirely different process. As outlined by Wristband.com, the steps include: 1) coloring raw silicone with pigments, 2) cutting the material into strips and weighing them, 3) placing the strips into a compression mold under heat, 4) trimming the molded bracelet and printing or embossing text, and 5) inspecting and packing. This industrial method produces durable, seamless wristbands used for events and promotions.
Differences Between Craft Bracelets and Industrial Wristbands
Craft loom band bracelets are built link by link and can be customized on a small scale with no equipment beyond your fingers. Industrial wristbands, by contrast, are solid rings with no visible joints, made from silicone rubber that withstands water, sweat, and daily wear. While both fall under the broad label of “rubber bracelets,” the skills and materials differ dramatically. For children and hobbyists, learning how to make rubber band bracelets with a loom or your fingers offers a level of hands-on creativity that factory-made bands simply can’t replicate.
Frequently Asked Questions
What are loom bands?
Loom bands are small elastic bands, typically made of silicone, designed for crafting bracelets and other accessories. According to The Crafty Blog Stalker, they’re stretchy enough to fit over a finger but not much more, which gives them the tight, consistent tension that makes linked patterns hold their shape. They come in a wide range of colors and are sold at craft stores like Hobby Lobby and Michaels, as well as on Amazon.
Can you make rubber band bracelets without a loom?
Yes, absolutely. Many classic patterns, including the single chain, fishtail, and inverted fishtail, can be made using just your fingers or a simple hook. In fact, some of the most-watched tutorials on how to make rubber band bracelets use no loom at all, and two-peg patterns like the Fusilli and Rio Rio produce results that look far more complex than the process suggests.
What is the easiest rubber band bracelet to make?
The single-chain bracelet is widely considered the easiest starting point. It requires only bands and a C-clip, takes about 15 minutes, and can be mastered quickly by kids and adults alike. It’s the perfect foundation before moving to more complex designs like the fishtail or loom-based patterns.
How much do loom bands cost?
Loom bands are one of the most affordable craft supplies available. You can find bulk packs at Hobby Lobby, Michaels, and Amazon, with prices varying by brand and color variety. Premium or themed kits may cost more, but entry-level options are widely accessible for most budgets.
What age is appropriate for making rubber band bracelets?
The Crafty Blog Stalker notes that children as young as 8 can learn the single-chain bracelet with a little patience, and once they get the hang of it, they tend to make several in a row. More intricate loom patterns are better suited to older kids and adults. The craft is a great way to build fine motor skills and focus.
Can you make rubber band bracelets with just a hook?
Yes. A crochet hook or loom hook lets you create bracelets like the single chain or fishtail with more control than fingers alone. Hook-only patterns are popular for portability and are featured in numerous video tutorials, including The Cheese Thief’s no-loom playlist on YouTube.
Ready to add some handmade color to your wrist stack? Shop the collection at lexazi.com – free shipping on orders over $75.