How to clean earrings is a question of material first: warm soapy water works for most metals, while pearls need nothing more than a damp cloth. Get the method right and your favorite pairs stay brilliant, hygienic, and long-lasting.
Key Takeaways
- Material matters: gold, silver, diamond, and pearl earrings each require specific cleaning approaches to avoid damage.
- Mild soap and warm water is the safest starting point for most earrings.
- Rubbing alcohol and hydrogen peroxide effectively disinfect but must be used correctly to avoid harming delicate finishes.
- Baking soda paste removes tarnish from silver and restores shine, but it is abrasive – use with care.
- Pearls are porous; never soak them. Wipe gently with a damp cloth only.
- Clean regularly to prevent buildup, infections, and tarnish, and always store earrings properly.
Cleaning Method Comparison at a Glance
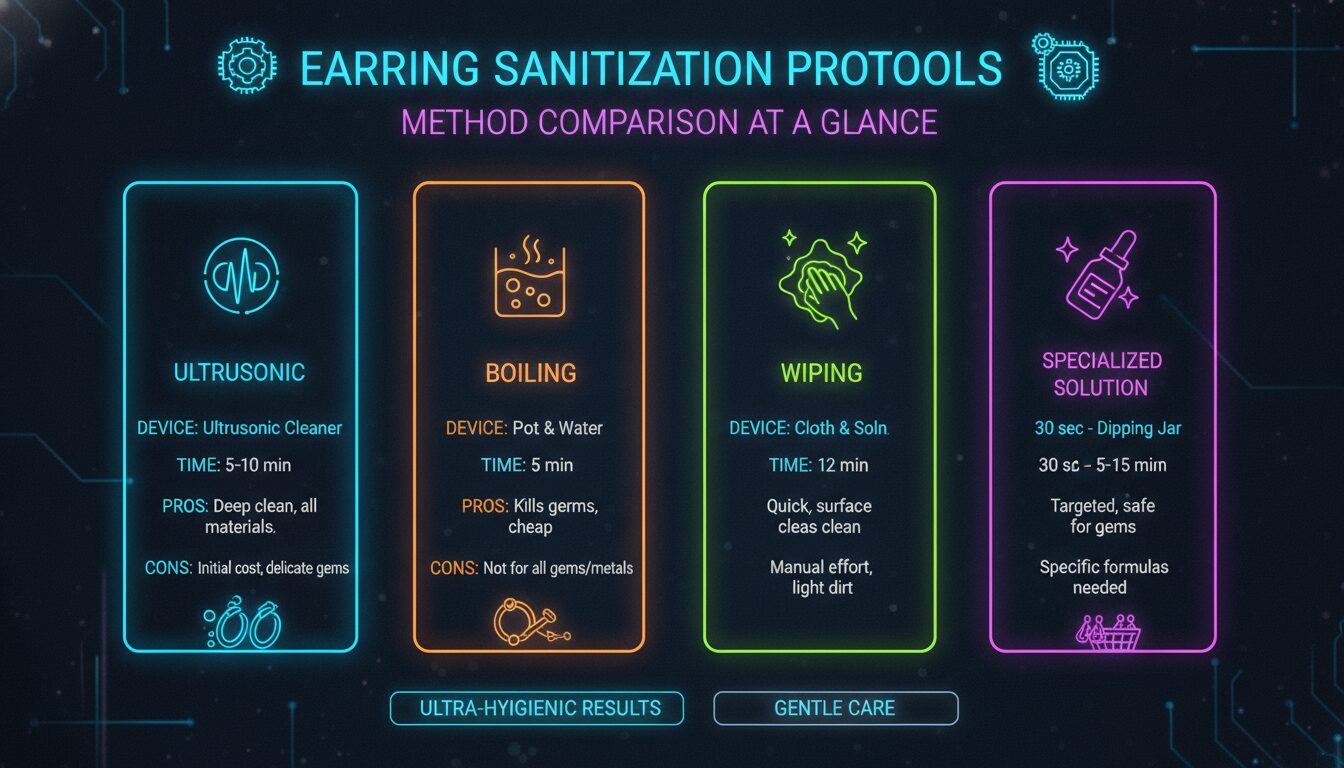
| Method | Best For | How It Works | Key Steps | Cautions |
|---|---|---|---|---|
| Warm water & mild dish soap | Gold, diamond, silver (non-tarnished), most metal earrings | Loosens oils and dirt without harsh chemicals. | Soak 5–20 minutes; gently scrub with soft cloth or toothbrush; rinse; dry. | Avoid long soaks on glued pieces; not for pearls. |
| Rubbing alcohol (isopropyl) | Gold, diamond, silver, costume jewelry (non-porous) | Kills bacteria and dissolves grime rapidly. | Wipe with cotton pad or brief soak (5–10 min); rinse; dry thoroughly. | Can strip delicate finishes; never use on pearls, opals, or soft stones. |
| Hydrogen peroxide | Gold, diamond, silver, most hard metals | Oxidizes organic residues and sanitizes. | Mix with warm water; soak 5–10 min; scrub; rinse well. | May dull sterling silver over time; not for pearls or porous gems. |
| Baking soda paste | Silver (tarnish removal), gold (if heavily soiled) | Mild abrasive that lifts tarnish and grime. | Mix with water to a thick paste; rub gently; rinse; dry. | Abrasive – avoid on soft metals, plated pieces, or delicate stones. |
| Foil & baking soda soak | Silver (tarnish only) | Electrolytic reaction transfers tarnish to aluminum foil. | Line bowl with foil; add hot water, baking soda, salt; soak 5 min. | Not for oxidized silver pieces where you want to keep dark patina. |
| Damp cloth wipe | Pearls, delicate gemstones | Removes surface oils without chemicals. | Use soft, lint-free cloth dampened with water; wipe after each wear. | Never soak; do not use any cleaner. |
| Professional cleaning | Heirloom, heavily soiled, or high-value pieces | Ultrasonic, steam, or expert polishing. | Bring to a reputable jeweler. | Costs vary; not needed for routine care. |
Why Knowing How to Clean Earrings Regularly Matters
Earrings sit directly against your skin and inside piercing holes, making them magnets for sweat, skincare products, and everyday grime. Without a routine, that buildup leads to irritation, infection, and allergic reactions. Keeping your earrings clean is about both hygiene and preserving their beauty.
Hygiene and Piercing Health
Even a tiny amount of trapped debris around earring posts or backs can harbor bacteria. According to Steven Billig of Billig Jewelers, “dirt, sweat, skin oils, and even shampoo can build up on earrings… [which] can cause irritation or even infection.” This is especially true for newly pierced ears, where the channel is still healing. Cleaning your earrings regularly – ideally after each wear for daily pieces – keeps piercings healthy and reduces the risk of redness, itching, and odor.
“Dirt, sweat, skin oils, and even shampoo can build up on earrings, especially around the earring backs and posts, which come in direct contact with your pierced ears. Over time, this buildup can cause irritation or even infection.” – Steven Billig, Billig Jewelers
Preserving Shine and Longevity
Beyond health, clean earrings simply look better. Grime and tarnish hide a gemstone’s sparkle and make metal appear dull. Substances like hairspray or perfume accelerate tarnishing on silver and create a cloudy film on gold over time. A consistent cleaning routine revives luster and extends the life of your favorite pairs, preventing costly repairs or replacements down the road.
Essential Tools for Cleaning Earrings at Home
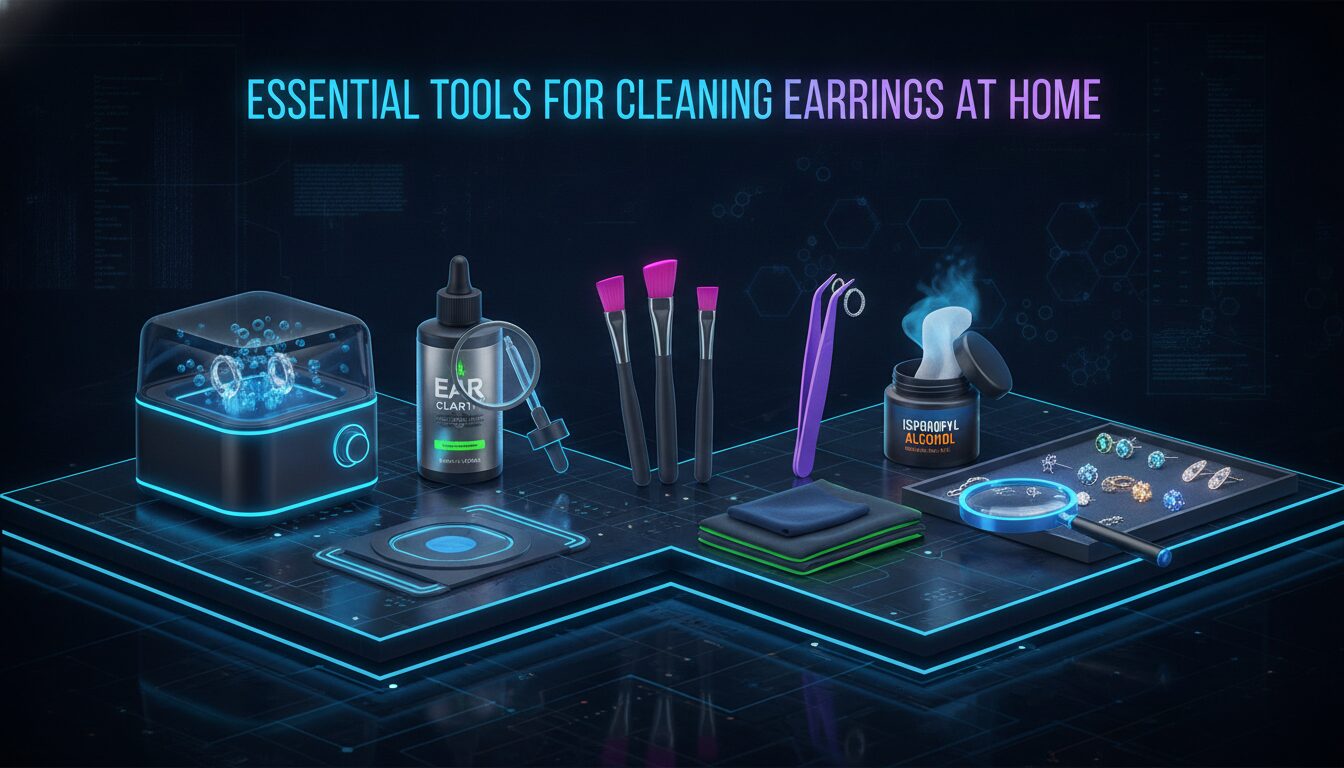
The best part about learning how to clean earrings at home is that you likely already own everything you need. As Daniel Wellington’s care guide puts it, “you probably already have everything at home.” A few basic supplies cover most earring types, and a couple of optional additions handle deeper sanitation or tarnish removal.
Basic Supplies You Already Have
- Warm water – not hot, as extreme heat can loosen glue in some settings.
- Mild dish soap – a drop of Dawn or similar gentle liquid soap cuts grease without harsh chemicals.
- Small bowl or cup – for soaking.
- Soft cloth – microfiber or a clean, lint-free cotton cloth for drying and buffing.
- Soft-bristle toothbrush – an old, clean toothbrush or a baby brush works perfectly to reach crevices.
Optional Deep-Cleaning Additions
- Rubbing alcohol (isopropyl alcohol, 70% or higher) – for disinfecting.
- Hydrogen peroxide – an alternative sanitizer that also brightens metals.
- Baking soda – forms a paste to gently scrub away tarnish or stubborn buildup.
- Cotton swabs and pads – for precise application on posts and backs.
- Aluminum foil and salt – for the electrolytic tarnish-removal method on silver.
How to Clean Gold Earrings Safely
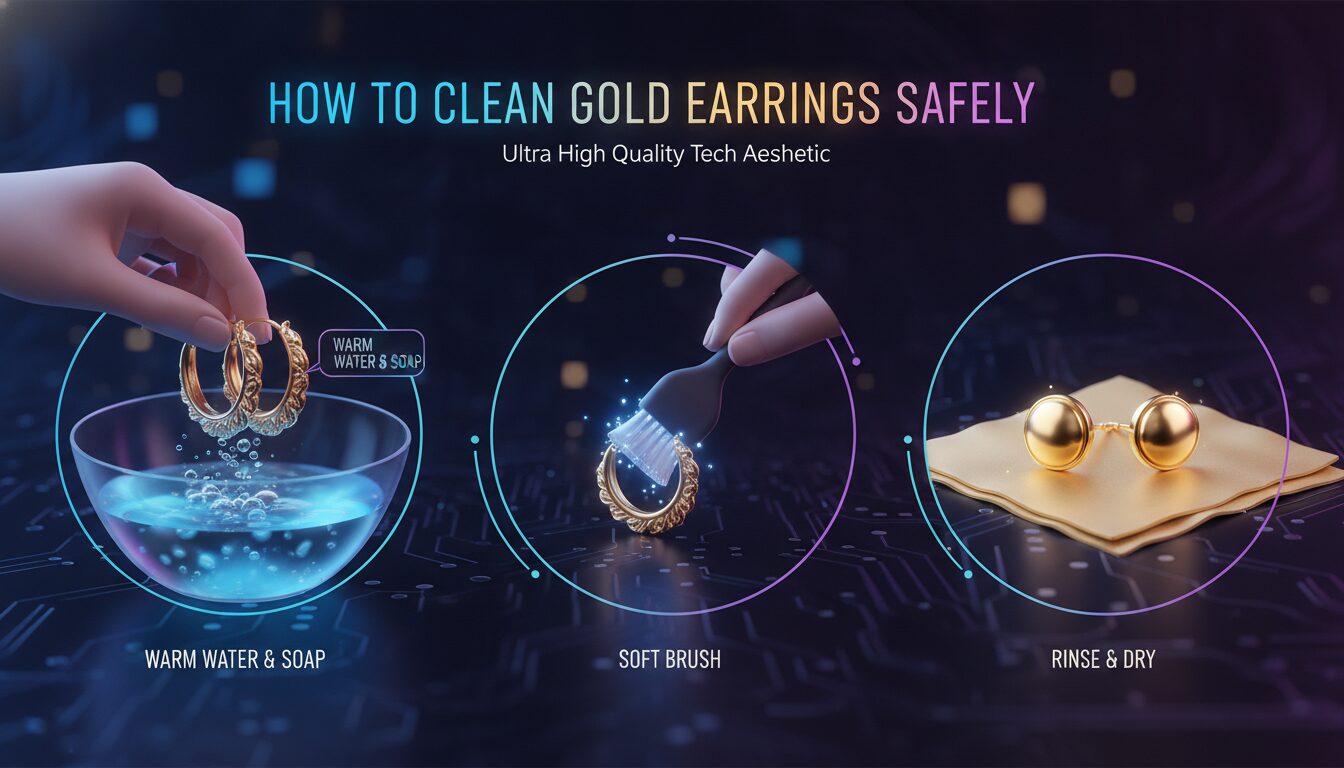
Gold earrings – whether solid karat gold or gold-filled – are relatively low-maintenance, but they still need attention. Gold is a soft metal, so abrasive cleaners or harsh scrubbing can scratch the surface. The goal is to remove oils and dirt while preserving the polish.
The Gentle Soap Method
This is the most universally recommended approach for how to clean earrings made of gold. Steven Billig of Billig Jewelers outlines these steps:
- Fill a bowl with warm water and add a single drop of mild dish soap.
- Place the gold earrings in the solution and let them soak for 5–10 minutes to loosen makeup, lotion, or skin oils.
- Gently scrub with a soft cloth or a very soft toothbrush, paying extra attention to the posts and backs.
- Rinse thoroughly under clean, running water – use a strainer if you’re worried about losing small pieces.
- Dry completely with a soft, lint-free cloth.
This routine works well monthly for earrings worn regularly, or whenever you notice a film building up.
Quick Disinfection
If you need to sanitize your gold earrings before wearing after long storage, a brief disinfecting wipe is perfectly safe. Dampen a cotton pad with rubbing alcohol and gently swipe the earrings, including the posts. According to Billig Jewelers, you should avoid soaking gold in alcohol for too long, as prolonged contact can strip away delicate finishes. Always rinse and dry afterward.
What Not to Do with Gold
- Skip abrasive cleaners: Baking soda paste can scratch softer gold, especially higher-karat pieces (18K and above).
- Check before using ultrasonic cleaners: While gold can handle ultrasonic cleaning, earrings with delicate gemstones or glued-in settings may be damaged. Consult a jeweler first.
- Never use bleach or harsh chemicals: Chlorine can weaken gold alloys and cause discoloration.
How to Clean Silver Earrings and Remove Tarnish
Silver earrings are beloved for their versatility, but sterling silver naturally tarnishes when exposed to air and moisture. Tarnish appears as a dark, discolored film on the surface. Fortunately, several effective home methods reverse it without damaging the metal.
Baking Soda Paste for Spot Cleaning
For mild tarnish or targeted cleaning, a baking soda paste works beautifully. The Sterling Forever guide and many jewelers recommend this method for how to clean earrings made of silver:
- Mix three parts baking soda with one part water to form a thick, spreadable paste – thick, not runny, as the Daniel Wellington guide specifies.
- Using a soft cloth, cotton swab, or very soft toothbrush, gently rub the paste onto the silver surfaces, focusing on tarnished areas.
- Allow the paste to sit for 1–2 minutes, then rinse thoroughly under warm water.
- Dry immediately with a clean microfiber cloth to prevent water spots.
The Foil and Baking Soda Soak
When earrings are heavily tarnished, a simple chemical reaction can remove the tarnish without scrubbing. This technique appears in Billig Jewelers’ advice and is described by M Conner, a self-taught jewelry artisan on Quora:
- Line a small glass or ceramic bowl with aluminum foil, shiny side up.
- Place the silver earrings on the foil, ensuring they make direct contact with it.
- Sprinkle 1–2 tablespoons of baking soda and a pinch of table salt over the earrings.
- Pour hot (not boiling) water into the bowl until the earrings are fully submerged.
- Let them sit for 3–5 minutes. You may notice a slight sulfur smell as the tarnish transfers to the foil.
- Remove earrings, rinse well, and dry.
Polishing for a Mirror Shine
After cleaning, a dedicated silver polishing cloth restores brilliance. According to Rowan Studio’s jewelry care guide, sterling silver that looks tarnished simply needs a gentle polishing with a special silver cloth or a lint-free flannel. Avoid paper towels or tissues – they contain fibers that can scratch silver. Store silver earrings in anti-tarnish pouches or airtight compartments to slow future oxidation.
“Don’t use paper towels, tissues, or brushes of any kind to polish your sterling silver jewelry – they contain fibers that can scratch the silver.” – Rowan Studio Jewelry Care Guide
How to Clean Diamond Earrings for Maximum Sparkle
Diamond earrings accumulate oils, lotions, and hair products that cloud their brilliance over time. Knowing how to clean earrings set with diamonds restores the light return that makes them so captivating.
The Deep Soak and Scrub
Jewelers consistently recommend a simple soak for diamond earrings. Billig Jewelers advises the following steps:
- Prepare a bowl of warm water with a drop of dish soap.
- Soak the diamond earrings for 15–20 minutes to loosen stubborn oils.
- Using a soft-bristle toothbrush, gently scrub around the diamond, the setting, and the post. Pay close attention to the underside where grime hides.
- Rinse under warm water, ensuring no soap residue remains.
- Lay the earrings on a clean cloth to air-dry, or pat gently.
This method is safe for diamonds set in gold, platinum, or silver, provided the setting is secure. It also works well for other hard gemstones like rubies and sapphires.
Using Alcohol for an Extra Sparkle Boost
For a quick shine, you can dip diamond earrings in rubbing alcohol for 10–15 seconds, then rinse and dry. Alcohol evaporates rapidly and cuts through grime, leaving diamonds brilliantly clear. Avoid this on earrings with glued-in stones, as alcohol can weaken adhesive bonds over time.
Professional Cleaning Considerations
While at-home care keeps diamond earrings looking great, an occasional professional cleaning at a jeweler offers a deeper restoration. Jewelers use ultrasonic cleaners, steam, and professional-grade solutions to reach tiny crevices. If your diamond earrings are set in a fragile vintage mounting or contain accent stones, consult the jeweler before using ultrasonic machines at home.
How to Clean Pearl Earrings with Care
Pearl earrings demand a completely different approach from metal or diamond ones. Pearls are organic gemstones composed of layers of nacre, and they are porous and sensitive to chemicals, heat, and even prolonged moisture. Mishandling can cause them to lose luster, crack, or peel.
The Only Safe Method: Wipe with a Damp Cloth
The universal rule for how to clean earrings made of pearl is “less is more.” After each wear, gently wipe the pearls with a soft, lint-free cloth slightly dampened with plain water to remove skin oils and perfume residue. Do not soak the pearls or submerge them in water. For built-up grime, use a cotton swab dipped in water with a tiny drop of very mild baby shampoo, then wipe again with a plain damp cloth and dry immediately. Billig Jewelers stresses that pearls should never be soaked and that even mild dish soap can be too harsh for their delicate surface.
What Never to Do with Pearls
- No soaking: Water can seep into the drill hole and weaken the silk thread, causing the pearl to crack from swelling.
- No alcohol, hydrogen peroxide, or baking soda: These can dissolve the nacre or leave permanent marks.
- No ultrasonic or steam cleaners: The vibrations and heat can shatter pearls.
Proper Storage for Pearls
Store pearl earrings in a separate soft pouch or lined jewelry box compartment to prevent other metal or gemstone pieces from scratching them. Pearls benefit from a bit of humidity – too dry an environment can cause dehydration – so avoid airtight plastic bags. Check the glue holding pearl studs periodically at a jeweler to ensure it remains secure.
How to Disinfect Earrings Using Rubbing Alcohol and Hydrogen Peroxide
Disinfection is essential when earrings are shared, purchased secondhand, or haven’t been worn in a while. Both rubbing alcohol and hydrogen peroxide are effective sanitizers, and knowing how to clean earrings with each one keeps your piercings safe.
Rubbing Alcohol: Quick Soak or Wipe
Rubbing alcohol (isopropyl alcohol) kills bacteria on contact. For most metal earrings – gold, silver, stainless steel, or titanium – either a brief soak or a thorough wipe works well. The Sterling Forever blog recommends combining rubbing alcohol with a little warm water and submerging earrings for 5–10 minutes, then scrubbing gently with a soft toothbrush. Quora contributor Rebecca LaManna also notes that a cotton swab dipped in isopropyl alcohol is “effective, easy, and convenient” for a quick cleanse. After disinfecting, rinse with water and dry completely.
Hydrogen Peroxide Method
Hydrogen peroxide (the 3% solution typically found in medicine cabinets) is another excellent sanitizer. It releases oxygen as it breaks down, which helps lift dirt. Ashley Mitchell’s Quora response details this method: place a cotton ball over the bottle opening, tip to saturate, and wipe the earrings thoroughly. For a deeper clean, mix equal parts hydrogen peroxide and warm water, soak the earrings for 5–10 minutes, then scrub and rinse. This method is generally safe for gold, silver, and diamonds, but note that sterling silver may become slightly dull with prolonged exposure – always rinse well.
Safety Precautions
- Never mix cleaners: Combining alcohol and hydrogen peroxide can create peracetic acid, which is corrosive and dangerous.
- Work in a ventilated area when using these chemicals.
- Test a tiny hidden spot first if you’re unsure how the finish will react.
- Do not use on pearls, soft opals, turquoise, coral, or any porous gemstone.
How to Clean Earrings with Baking Soda
Baking soda is a household hero for cleaning earrings plagued by tarnish or stubborn crust. Its gritty texture means you must use it cautiously and only on durable metals.
Creating the Perfect Paste
For how to clean earrings with baking soda, you want a paste thick enough to stay put but not so dry it’s difficult to spread. Start with two tablespoons of baking soda and add water a few drops at a time, stirring until you achieve a consistency similar to toothpaste. The Daniel Wellington guide advises making a paste that is “thick, not runny” – that texture is what gives it grip on tarnish.
Step-by-Step Baking Soda Method
- Apply the baking soda paste to the earrings using a cotton swab, soft cloth, or old toothbrush. Concentrate on tarnished areas, posts, and backs.
- Let the paste sit on the surface for 1–3 minutes – do not let it dry out completely.
- Gently scrub in a circular motion to lift grime, then rinse thoroughly under warm water.
- Dry immediately with a microfiber cloth to prevent water spots.
This method works beautifully on sterling silver with mild tarnish and can also remove heavy buildup from gold and platinum. It is not suitable for pieces with soft gemstones or silver with an intentional dark patina, as it will strip that effect.
When Not to Use Baking Soda
Baking soda is inherently abrasive. Avoid it on gold-plated earrings, as it can wear through the thin plating. Soft stones like emeralds, opals, pearls, and turquoise can be scratched, and some silver alloys may develop micro-scratches if scrubbed too vigorously. When in doubt, default to the mild soap method instead.
How to Clean Earring Backs and Posts Effectively
Earring backs – especially the common butterfly clutch – are often the grimiest part because they trap dead skin cells, sebum, and product residue against the ear. A thorough approach to how to clean earrings must address these small components separately.
Why Backs Get So Grimy
Butterfly backs, push-backs, and screw-backs all have crevices where buildup accumulates. M Conner, a self-taught jewelry artisan on Quora, notes that this is “common for butterfly clutch type backs that have been worn a while” and recommends using an old soft toothbrush to gently scrub them. Treat the backs as individual pieces during every cleaning session.
Step-by-Step Deep Clean for Backs
- Remove the backs from the earrings and place them in a small bowl of warm, soapy water. Let them soak for 10–15 minutes.
- Pick up each back and use a soft toothbrush to scrub all surfaces. For stubborn buildup, a wooden toothpick can carefully dislodge debris from tiny channels – just avoid scratching the metal.
- Rinse the backs thoroughly under running water.
- Drop them into a capful of rubbing alcohol for 30 seconds to disinfect, then remove and dry completely.
For earring posts, dip a cotton swab in rubbing alcohol and wipe the entire post, including the area where it meets the decorative front. This step is especially important if you’ve had any sign of irritation or if the earrings have been stored for a long time.
Disinfection of Posts
According to Mim Lindblom’s Quora contribution, a doctor recommended that her daughters wipe down the posts of shared earrings with a cotton ball soaked in rubbing alcohol before each use to prevent infection. This quick habit – treating posts with alcohol before insertion – adds an extra layer of hygiene and keeps piercings comfortable.
How to Make Earrings Shiny Again
Even well-cared-for earrings can lose their luster over months of wear. Restoring that fresh-from-the-jeweler gleam is often simpler than you think.
Polishing Cloths
A high-quality polishing cloth is the easiest and safest tool for everyday shine. Cloths infused with micro-abrasives and anti-tarnish agents quickly buff away light tarnish and bring back a mirror finish. For sterling silver, Rowan Studio specifically recommends using a special silver cloth and warns against paper towels. For gold, a dry microfiber cloth is often sufficient, but a gold-specific polishing cloth can remove fine surface scratches.
DIY Shine Boosters
No treated cloth on hand? The baking soda paste or foil-and-soda method described earlier are effective shine restorers for silver. A simple soak in warm water with a drop of dish soap and a gentle buff with a dry microfiber cloth works wonders on gold and diamond earrings. For an instant brightening, rubbing alcohol wiped on metal surfaces evaporates quickly, removing the oils that cause dullness.
Ultrasonic Cleaners
Ultrasonic machines use high-frequency sound waves to create microscopic bubbles that dislodge dirt from even the smallest crevices. Many jewelers use them, and home versions are available for purchase. They are generally safe for gold, silver, diamonds, and some hard gemstones, but delicate settings, glued pieces, and porous stones (pearls, opals, emeralds) can be damaged. Mim Lindblom on Quora mentions that her mother uses a sonic cleanser for genuine jewelry, suggesting it suits high-quality pieces without fragile components. Read the manufacturer’s instructions carefully and err on the side of gentleness.
Preventing Tarnish and Buildup: Daily Care Tips
A little prevention goes a long way – especially with earrings. Simple habits reduce how often you need to clean earrings and keep every pair looking newer, longer.
Proper Storage
How you store earrings when they’re not being worn matters enormously. Tarnish thrives in humidity, and scratching happens when pieces rub together. Best practices, supported by Billig Jewelers and Rowan Studio, include:
- Keep earrings in a fabric-lined jewelry box with separate compartments or on a padded earring holder.
- For silver, use anti-tarnish strips or pouches that absorb airborne sulfur compounds.
- Store pearls in a soft pouch away from other jewelry, in a slightly humid environment to prevent dehydration.
- Avoid storing earrings in the bathroom, where steam accelerates tarnish.
Wearing and Removal Habits
- Put earrings on last – after hairspray, perfume, and lotions have dried.
- Remove earrings before swimming – chlorine and saltwater are corrosive to many metals.
- Take them off before sleeping – to prevent snagging and reduce the accumulation of overnight oils.
Regular Maintenance Routine
Incorporate earring care into your weekly routine. A quick wipe with a dry microfiber cloth after each wear removes fresh oils before they harden. Monthly, soak your most-worn metal earrings in warm, soapy water and give them a gentle scrub. This consistent minimal effort prevents the heavy buildup that requires aggressive cleaning and prolongs the life of your collection.
Pros and Cons of Cleaning Earrings at Home
Pros
- Uses supplies you already own – no special purchases required for basic cleaning.
- Keeps piercings healthy by removing bacteria, oils, and product residue regularly.
- Restores shine and extends the lifespan of your favorite pairs.
- Flexible: you can tailor the method to each material, from gold to pearls.
Cons
- Wrong method for the wrong material can cause scratches, dullness, or permanent damage.
- At-home cleaning cannot fully replicate professional ultrasonic or steam treatments for heavily soiled pieces.
- Porous or delicate stones (pearls, opals, emeralds) require extra caution and are easy to damage if you rush.
Frequently Asked Questions
What is the best thing to clean earrings with?
For most metal earrings, the best all-purpose solution is warm water mixed with a drop of mild dish soap like Dawn. It’s gentle enough for frequent use yet effective at removing oils and dirt. For disinfection, rubbing alcohol is preferred; for tarnish on silver, a baking soda paste works well.
Is it okay to soak earrings in rubbing alcohol?
A brief soak of 5–10 minutes is generally safe for non-porous metals like gold, silver, and stainless steel. Prolonged soaking can damage the finish on some plated pieces or weaken glue in gemstone settings. Always rinse and dry thoroughly afterward, and never use alcohol on pearls, opals, or soft stones.
Can you use Dawn dish soap to clean your earrings?
Yes, Dawn dish soap is widely recommended by jewelers for cleaning earrings. It cuts through oils without harsh chemicals and is safe on gold, silver, diamonds, and most hard metals. Use only a tiny drop in warm water, and rinse completely to avoid residue.
How to make earrings shiny again?
Start with a thorough clean using warm, soapy water and a soft brush. For silver, a baking soda paste or foil-and-soda soak removes tarnish and restores shine. Buff with a microfiber or specialized polishing cloth. A quick wipe with rubbing alcohol can also enhance brilliance on metals and diamonds.
How to clean earrings when they smell?
Odor is usually caused by buildup of skin oils and bacteria around the post and back. Soak the earrings in warm water with dish soap for 15 minutes, scrub with a toothbrush, then dip the posts and backs in rubbing alcohol for a few seconds to kill odor-causing bacteria. Rinse and dry completely – regular cleaning prevents the smell from returning.
How to clean earrings without tarnishing them?
Prevention is key: store earrings in anti-tarnish pouches, keep them dry, and wipe them after each wear. For routine cleaning, use a mild soap soak and apply a targeted baking soda treatment only when tarnish appears. Avoid products with sulfur or harsh chemicals, and never use paper towels on silver, as they can scratch the surface.
Keep Your Earrings Clean and Sparkling
Knowing how to clean earrings properly means you can preserve both their beauty and your ear health with a few simple habits. Whether you reach for the dish soap, a piece of foil, or a polishing cloth, tailoring the method to the material is the golden rule. As of Summer 2026, the approach hasn’t changed: gentle, consistent care beats any deep-clean rescue mission. Browse the full jewelry collection at lexazi.com – free shipping on orders over $75.