Friendship bracelets are handmade woven, beaded, or knotted accessories exchanged as symbols of connection and affection. Learning how to make friendship bracelets opens up a world of color, texture, and creativity, from the classic candy stripe to quick beaded designs and kid-friendly cardboard loom variations.
Key Takeaways
- Friendship bracelets are handcrafted accessories made from thread, beads, or cord, symbolizing friendship and connection.
- Start with the candy stripe pattern for a classic knotted bracelet, or a cardboard loom for a kid-friendly version.
- Measure embroidery floss using the shoulder-to-fingertip rule (approximately 30 inches) or multiply wrist circumference by 5.
- With practice, a beaded bracelet can be completed in as little as 3.5 minutes, while a knotted one may take an hour for beginners.
- Gift a bracelet by tying it on your friend’s wrist with three knots while making a wish.
- Visual learners can follow along with YouTube channels like Masha Knots, which covers chevrons, candy wave, and beginner patterns.
What Are Friendship Bracelets?
The History and Symbolism
A friendship bracelet is a piece of jewelry given to a friend as a token of affection and connection. Originating from Central and South American knotting traditions, these bracelets gained massive popularity at summer camps in the United States during the 1980s. As noted on Instructables, learning how to make friendship bracelets is “one of those rites of passage you always do at summer camp, so this might just be like figuring out how to ride a bike again.” The act of tying a bracelet onto a friend’s wrist is often accompanied by a wish; when the bracelet eventually falls off naturally, the wish is said to come true. Today, people of all ages continue this tradition, making it a beloved ritual in camp culture and beyond.
Different Types of Friendship Bracelets
There are numerous styles to explore once you start learning how to make friendship bracelets, each with its own technique and finished look. The classic embroidery floss bracelets use simple knots to create diagonal stripes or chevron patterns. Beaded bracelets incorporate pony beads, letter beads, or glass beads to spell out names or messages. Stretch cord bracelets offer a simpler, no-clasp alternative perfect for quick crafting. Cardboard loom bracelets, inspired by the Japanese Kumihimo technique, produce a thick braided appearance using a homemade circular loom. Each method suits a different skill level and occasion.
Essential Materials for Friendship Bracelets
Embroidery Floss and Yarn Options
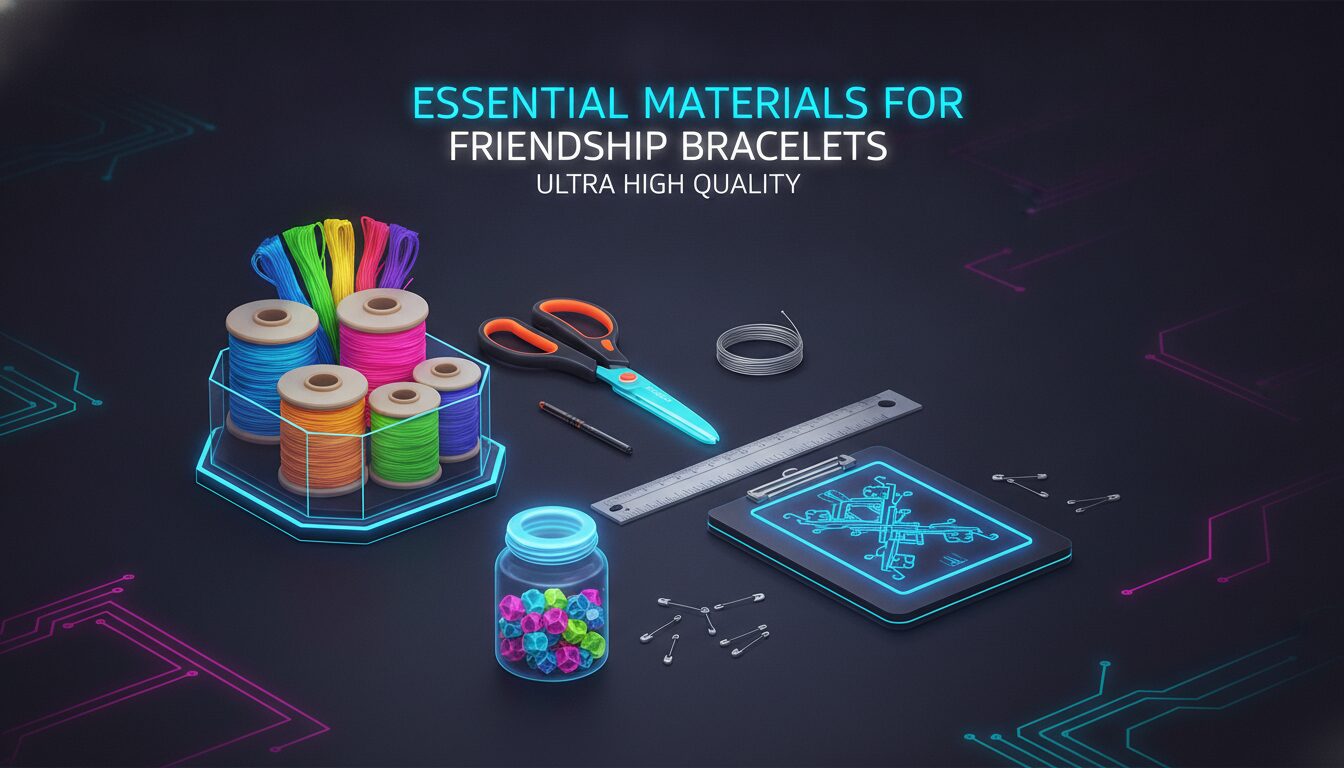
The most common material for friendship bracelets is six-stranded cotton embroidery floss, such as DMC floss or the inexpensive multipacks found in craft stores. According to the Instructables guide, the floss must be six-stranded to achieve the right thickness for a nice bracelet. For a softer, chunkier look, Lion Brand Bonbons yarn or other thin yarns work beautifully, especially with cardboard loom techniques.
Beads, Stretch Cord, and Other Supplies
For beaded bracelets, plastic pony beads, glass seed beads, or letter beads are all popular choices. Elasticity Stretch Cord, available at Artbeads or Amazon, works well for easy-on, easy-off designs. A bead spinner can dramatically speed up the beading process. According to the Redwoods camp blog, using a spinner helped reduce production time from 90 minutes for the very first bracelet to an average of 3.5 minutes each, with supplies costing $0.91 per bracelet when buying in bulk. Essential tools also include sharp scissors and a fastening device like tape or safety pins to hold the bracelet while working.
Tools Like Scissors, Tape, and Looms
Beyond the materials, a few simple tools are indispensable. Scissors should be sharp enough to cut floss cleanly. Tape or safety pins secure the starting knot to a table, clipboard, or even your pant leg while knotting. For cardboard loom bracelets, you need a piece of cardboard (cereal box weight works well), a pencil to mark cuts, and a ruler. A clipboard keeps everything flat and portable, which is especially handy for road trips or camp.
Pros and Cons of Different Friendship Bracelet Methods
| Method | Pros | Cons |
|---|---|---|
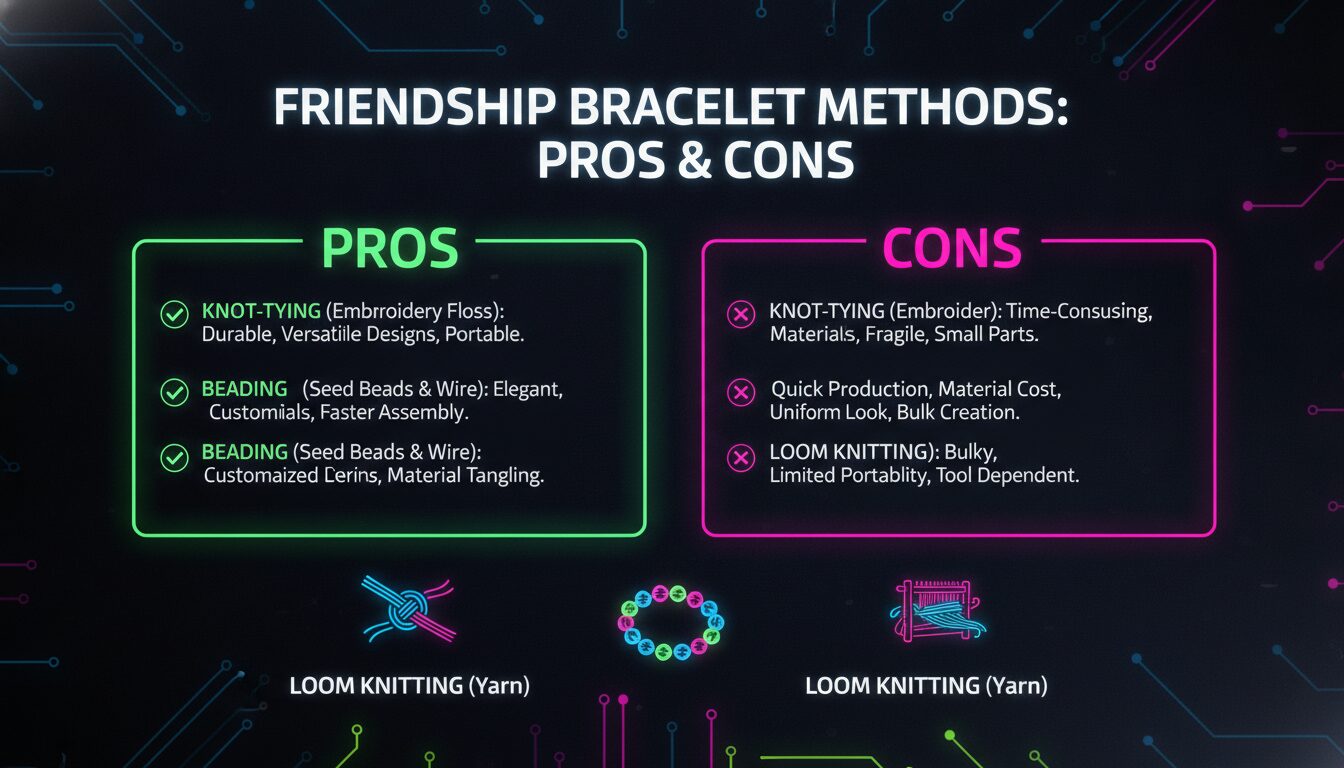
| Candy Stripe (Knotted) | Portable, classic look, detailed patterns possible | Requires knotting practice, can be time-consuming for beginners |
| Cardboard Loom | Extremely kid-friendly, quick to make, uses yarn or floss | Limited pattern variety, loom must be made separately |
| Beaded | Customizable with words and colors, very fast with a spinner | Elastic may degrade over time, glass beads can break |
| Stretch Cord | No clasp needed, easy on and off, simple design | Knot can be tricky to hide, elastic can lose stretch |
Pros
- Friendship bracelets require minimal supplies and are very affordable, with beaded versions costing as little as $0.91 per bracelet in bulk.
- Multiple methods suit every skill level, from preschoolers using a cardboard loom to experienced crafters tackling chevron patterns.
- The craft is portable and can be done anywhere, making it perfect for travel, camp, or a quiet afternoon at home.
- Finished bracelets carry genuine emotional meaning, making them thoughtful, personal gifts.
Cons
- Knotted bracelets have a learning curve; beginners often struggle with tension control and keeping strands organized.
- Elastic cord can degrade over time, especially with heavy glass beads or frequent washing.
- Running out of floss mid-project is a common frustration if strands are not measured generously from the start.
“Friendship bracelets are a great craft that you can take anywhere! They’re especially nice for people who have failed repeatedly at learning to knit and crochet.” – jessyratfink, Instructables
How to Measure and Cut Floss for Friendship Bracelets
The Shoulder-to-Fingertip Rule
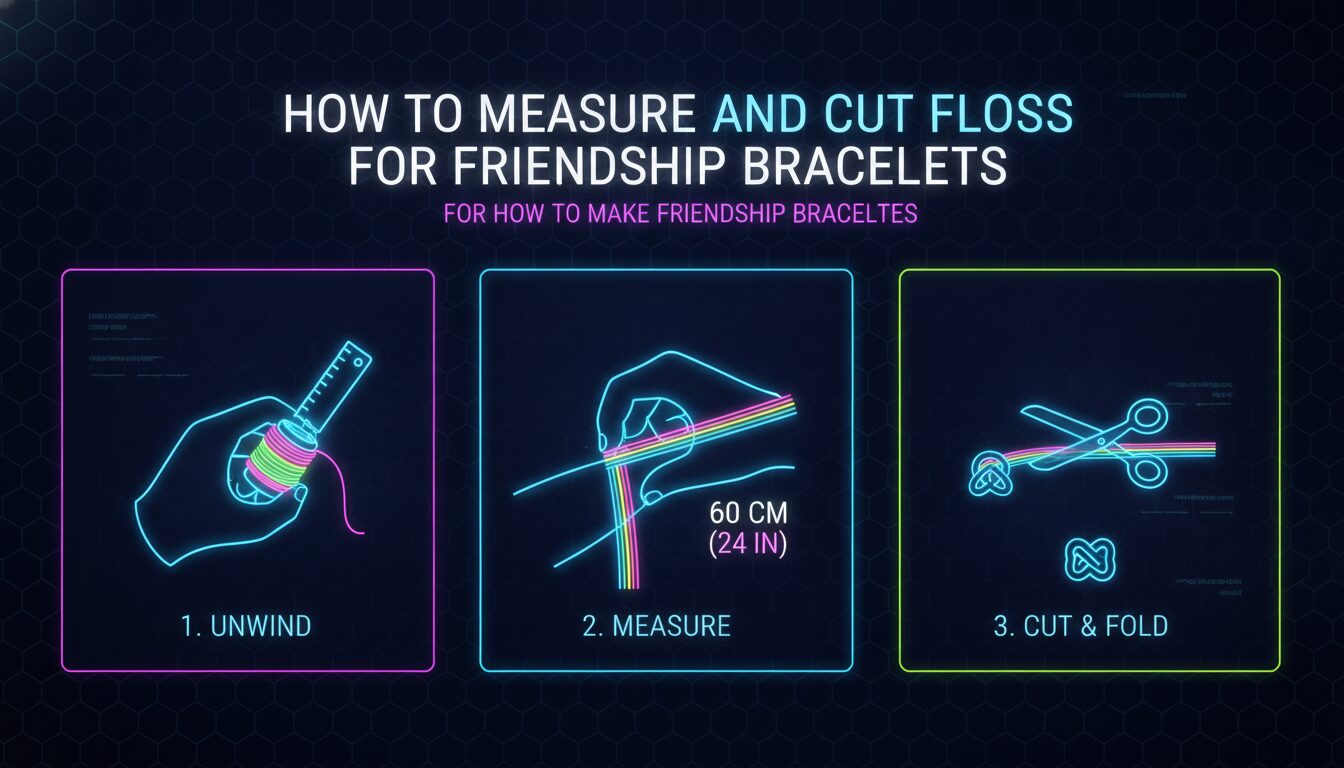
The simplest measurement method is to hold the end of the floss at your fingertips and extend your arm straight to the side, letting the floss run from your fingertips to your opposite shoulder. This yields approximately 30 inches, which is sufficient for most standard adult bracelets. The Instructables guide recommends at least 30 inches to avoid running short, noting that 25 inches “cut it awful close.”
Wrist Measurement Multiplier
For greater precision, measure your wrist circumference in inches, then multiply that number by 5. For example, a 6-inch wrist requires 30 inches of floss per strand. This rule ensures you have enough length for knots, braided ends, and the working section. If you’re making a bracelet for a child with a smaller wrist, you might reduce the multiplier to 4.
Adjusting for Thicker Bracelets
If your pattern uses more than six strands, you’ll make more knots per row, consuming thread faster. In such cases, add an extra 6 inches to each strand. Similarly, thicker yarn means larger knots and slightly more length needed. Always err on the side of too much: excess thread can be trimmed, but a too-short strand can ruin the project.
Basic Knotting Techniques for Friendship Bracelets
The Forward Knot (Candy Stripe)
The forward knot is the fundamental stitch for the classic candy stripe pattern. Take the leftmost strand (working strand) and loop it over the strand to its right (core strand), pulling it through to create a half hitch. Then repeat the same motion to complete a full forward knot: always two knots per core strand. As described on Instructables, you “tie the first strand around the second strand again” to form the ridge. Continue knotting the working strand onto each subsequent strand across the row.
The Backward Knot (for Chevrons)
The backward knot is the mirror opposite, used in patterns like chevrons and diamonds. With the working strand on the right, loop it over the strand to its left from behind, pulling tight. Again, two knots per core strand. Mastering both directions opens up countless pattern possibilities found in bracelet diagram books or online communities.
The Overhand Knot to Start and End
Begin every bracelet by gathering all cut strands together and tying a simple overhand knot about 2 to 3 inches from the end. This creates a starting anchor. After knotting the bracelet body, tie another overhand knot to secure the design. The remaining floss tails can be braided or left loose as ties.
How to Make Friendship Bracelets: The Classic Candy Stripe Pattern
Step-by-Step Candy Stripe Instructions
- Step 1: Cut 4 to 8 strands of embroidery floss, each 30 inches long. Group all strands together and tie an overhand knot about 3 inches from one end. Tape or pin the knot to a secure surface.
- Step 2: Braid the 3-inch tail below the knot, then tie another overhand knot to seal the braid. This forms the bracelet’s starting end.
- Step 3: Arrange the strands in the desired color order. For a diagonal stripe effect, order colors from left to right as you want them to appear.
- Step 4: Take the leftmost strand (working strand) and make a forward knot onto the strand directly to its right. Remember: two knots per core strand. Pull the knot snug but not overly tight.
- Step 5: Continue knotting that same working strand onto each subsequent strand in the row, moving left to right. After completing the full row, the working strand ends up on the far right.
- Step 6: Start the next row with the new leftmost strand. Repeat row after row until the bracelet reaches about 3 to 4 inches of knotted length, or fits around the wrist with a small gap.
- Step 7: Finish with another overhand knot, braid the remaining tails, and tie a final overhand knot. Trim excess floss.
Color Arrangement and Pattern Tips
Using two alternating colors creates simple stripes, while a rainbow sequence yields a vibrant diagonal gradient. For a more intricate look, vary the number of strands per color. Keep in mind that the working strand’s color appears as the dominant stripe in that row. The Instructables author suggests six strands as the ideal balance between daintiness and detail, resulting in a bracelet about 1/4 to 1/3 inch wide.
Common Mistakes When Learning the Candy Stripe
First-timers often pull knots too tight, causing the bracelet to curl. If the bracelet twists, gently stretch it or place it under a heavy book overnight. Forgetting which strand is the working strand leads to mixed-up patterns; keep the order organized by taping them down in sequence. Running out of floss is another common pitfall, so always measure generously from the start.
How to Make Friendship Bracelets with a Cardboard Loom
Making the Cardboard Loom
This method, inspired by the Japanese Kumihimo braiding technique and popularized by Red Ted Art, uses a simple circular loom you can make at home. Cut a circle from cardboard about 3 to 4 inches in diameter. Mark eight evenly spaced slits around the edge and cut them about 1/2 inch deep. Punch a small hole in the center. A paper plate works as an easy alternative if you don’t have spare cardboard on hand.
Knotting on a Circular Loom
Thread seven strands through the center hole and tie a knot underneath. Place each strand into a separate slit, leaving one slit empty. Rotate the loom clockwise, count to the third strand from the empty slot, and move it to the empty slot. Continue this process, always moving the third strand to the empty space, and a thick braided bracelet will begin to emerge from the underside. This technique is incredibly forgiving and quick, making it perfect for young children.
Loom Bracelet Variations for Kids
Use thicker yarn for a faster, chunkier bracelet, or mix embroidery floss colors for a more defined braid. As noted on Red Ted Art, even preschoolers can manage this craft with minimal assistance. The finished bracelet has a rounded, rope-like appearance that looks especially striking with three colors used at a time.
How to Make Friendship Bracelets Using Beads
Choosing the Right Beads and String
Beaded bracelets are incredibly versatile. Plastic pony beads and letter beads let you personalize with names or messages. For a more polished look, consider glass seed beads or Czech glass beads. The string choice depends on the bead hole size: Elasticity Stretch Cord (0.8mm to 1mm) works for most pony beads, while beading wire or nylon thread suits smaller beads. Always check that your cord fits through the beads twice if you plan to hide the knot inside a bead.
Simple Beaded Bracelet Tutorial
- Cut a piece of stretch cord about 12 inches long (longer for larger wrists). Pre-stretch the cord by pulling it gently a few times to prevent later sagging.
- String beads in the desired pattern. Add a charm or larger bead as a focal point if desired.
- When the bracelet is the right length (about 1/2 inch larger than wrist circumference), thread both ends through one last bead if possible.
- Tie a surgeon’s knot: loop the right cord over the left twice, pull tight; then loop the left over the right once, pull tight. Trim excess cord close to the knot.
- Dab a tiny drop of clear nail polish or jewelry glue on the knot for security, and roll the knot into a bead hole if available.
Using a Bead Spinner for Efficiency
For anyone wondering how to make friendship bracelets faster, a bead spinner is the answer. Fill the spinner bowl with your chosen beads, thread a curved needle, and spin: the beads jump onto the needle in seconds. The Redwoods camp blog reported that using a spinner, along with practice, cut bracelet-making time from 90 minutes for the very first bracelet to an average of 3.5 minutes each, with a materials cost of $0.91 per bracelet when ordering in bulk.
Stretch Cord Friendship Bracelets: How to Make Them
The Surgeon’s Knot for Stretch Bracelets
The surgeon’s knot is the most secure knot for elastic cord because it adds extra friction. After stringing beads, cross the right cord over the left, loop it around twice, and pull tight. Then cross the left over the right once and pull. The additional wrap in the first half prevents slippage. ArtbeadsVideos recommends this knot for all stretch bracelets and suggests hiding the trimmed ends inside a bead for a clean finish.
Tips for Preventing Stretch Cord Breakage
Pre-stretch your cord before stringing to minimize future loosening. Use the thickest cord that fits your beads, typically 1mm. Avoid overloading the bracelet with heavy glass beads, which can cause premature wear. Tie the knot firmly but not so tight that the cord cuts itself. A drop of glue seals the knot; allow it to dry fully before wearing.
Adding Charms and Beads to Stretch Bracelets
Incorporate metal charms, tassels, or unique bead shapes to elevate the design. String a charm onto a jump ring and thread the cord through the ring before knotting. Make sure any metal components are nickel-free to prevent skin irritation.
Advanced Friendship Bracelet Patterns (Chevrons, Waves, and More)
The Chevron Pattern Explained
The chevron is a V-shaped pattern that uses both forward and backward knots. Start by arranging strands in a mirrored color order (for example: A, B, C, D, D, C, B, A). Working from the outside in, create forward knots on the left half and backward knots on the right half, meeting in the middle. The center strands are then knotted together. This pattern is a natural progression after mastering the candy stripe.
Candy Wave and Other Variations
Candy wave creates a zigzag effect by alternating forward and backward knot rows. Other patterns like diamonds, hearts, and arrows are possible by reading pattern diagrams, where each symbol corresponds to a knot direction. Online communities and books like The Beginner’s Guide to Friendship Bracelets by Masha Knots offer countless charts for every skill level. The Masha Knots YouTube channel is also an excellent resource for visual learners, with dedicated tutorials on chevrons, candy wave, and five beginner-friendly patterns.
Using Pattern Graphs
Friendship bracelet graphs use grid-like charts where each box represents a knot. An arrow pointing right indicates a forward knot; left indicates backward. Color-coded rows show which color is the working strand. Starting with simple 4 to 6 strand graphs builds confidence before tackling intricate patterns with 20 or more strands.
Tips for Beginners Learning How to Make Friendship Bracelets
Starting with Thicker Threads and Simple Patterns
Many beginners find success by using thicker yarn and a cardboard loom first. Yarn knots are easier to see and handle than fine embroidery floss. Once you’re comfortable with the basic movements, transitioning to the candy stripe with floss becomes far less frustrating. Think of the loom as your training wheels.
Tension Control and Even Knotting
Consistent tension is the secret to a straight, professional-looking bracelet. Pull each knot with the same moderate force. Too loose and the bracelet looks gappy; too tight and it curls. Practice by making small sampler pieces before committing to a full bracelet.
Organizing Strands to Avoid Tangling
Tape each strand flat on your work surface in order, or use a piece of cardboard with slots labeled by color. Some crafters use a clipboard with a large clip to hold the starting knot, then fan the strands outward. Never let the loose ends tangle into each other; keeping them separated saves immense time and frustration.
Common Mistakes and How to Fix Them
Bracelet Curling and How to Block It
A curled bracelet is usually the result of overly tight knots or inconsistent tension. To flatten, block the finished bracelet: dampen it slightly, pin it straight on a foam board, and let it dry. Alternatively, place it under a heavy book for a day. The Instructables guide notes that bracelets with more strands may warp and require blocking to lay straight.
Running Out of Thread Mid-Project
If a strand runs too short while knotting, you can carefully splice a new length. Untie the last few knots, thread the new strand alongside the old, and continue knotting with both threads for a few knots before trimming the old tail. This join is rarely invisible, so measuring correctly from the start is always the better approach.
Uneven Knots and Pattern Errors
Spot a mistake? Use a safety pin to gently undo knots back to the error point. Work slowly, as floss can fray. For minor misplacements, sometimes continuing the pattern will hide the flaw. Experienced bracelet makers often embrace small imperfections as part of the handmade charm.
Gifting and Caring for Friendship Bracelets
The Tradition of Tying on a Friendship Bracelet
The true magic happens when you tie the bracelet onto your friend’s wrist. The giver traditionally ties three knots while the receiver makes a silent wish. The bracelet is worn continuously until it falls off naturally, a sign that the wish has come true. This ritual deepens the emotional value of a humble, handmade accessory.
Washing and Storing Your Bracelets
Friendship bracelets can get dirty with constant wear. Hand-wash gently in cool water with mild soap, avoiding harsh scrubbing that can distort knots. Press between towels to remove excess water and let dry flat. Store bracelets flat or loosely coiled to prevent permanent creasing.
Creative Packaging Ideas
Present your bracelet in a fun, personal way. Fold a piece of cardstock, cut slits, and insert the bracelet; seal with a sticker. Origami envelopes or small fabric pouches add a handmade touch. Include a handwritten note explaining the meaning behind the bracelet for a truly memorable gift.
“My first bracelet took at least 90 minutes to make. This post is about how I honed my craft to the point where I was ultimately spending about 3.5 minutes per bracelet.” – Redwoods Group, ACA Camps Blog
Frequently Asked Questions
How do you make friendship bracelets step by step?
To make friendship bracelets step by step, cut embroidery floss to about 30 inches per strand, tie an overhand knot, secure with tape, arrange colors, and knot the leftmost strand twice onto each strand to the right. Repeat rows until the bracelet fits your wrist, then braid the ends and tie off. The candy stripe section above provides a complete seven-step sequence.
What are the rules for friendship bracelets?
Traditionally, the maker ties the bracelet onto the recipient’s wrist while the recipient makes a silent wish. The bracelet should be worn until it falls off naturally, at which point the wish is believed to come true. There are no strict rules beyond this custom, but the ritual is widely observed and adds meaning to the gift.
How to make a homemade friendship bracelet?
Use embroidery floss for knotted styles, or try a cardboard loom for a quick braided version. Beaded bracelets with letter beads and stretch cord are another easy homemade option. All methods require only a few affordable supplies available at any craft store.
How to make friendship bracelets with beads?
String beads onto elastic cord, tie a secure surgeon’s knot, and hide the knot inside a bead if possible. For efficiency, a bead spinner can load beads in seconds, reducing production time to about 3.5 minutes per bracelet with practice, according to the Redwoods camp blog.
What is the easiest friendship bracelet to make for kids?
Cardboard loom bracelets are the easiest option for young children. They simply wrap strands around a notched cardboard circle and repeat a simple “move the third strand” pattern. According to Red Ted Art, even preschoolers can create wonderful bracelets this way with minimal adult assistance.
How long does it take to make a friendship bracelet?
A beginner might spend an hour on a simple candy stripe bracelet. With practice, knotted bracelets can be completed in 30 to 45 minutes. Beaded bracelets using a spinner can be made in as little as 3.5 minutes each, per the Redwoods camp blog.