Heel lock lacing is a shoe-lacing method that uses the top eyelets to create a secure, locked-in fit around the heel, preventing slippage inside the shoe. Runners, hikers, and climbers rely on it to keep their feet anchored on tough terrain.
Key Takeaways
- lock lacing is a simple technique that stops heel slippage and lowers blister risk.
- It forms a pulley using the top eyelets, tightening the shoe around the ankle without cranking down on the rest of the foot.
- The method works for runners, hikers, rock climbers, and court sports athletes alike.
- If your shoes lack a top eyelet or you want a faster fix, elastic systems like Lock Laces® offer a similar locked-in feel.
- This guide covers step-by-step instructions, common mistakes, troubleshooting, and alternative lacing patterns.
What Is Heel Lock Lacing?
The Anatomy of Heel Lock Lacing
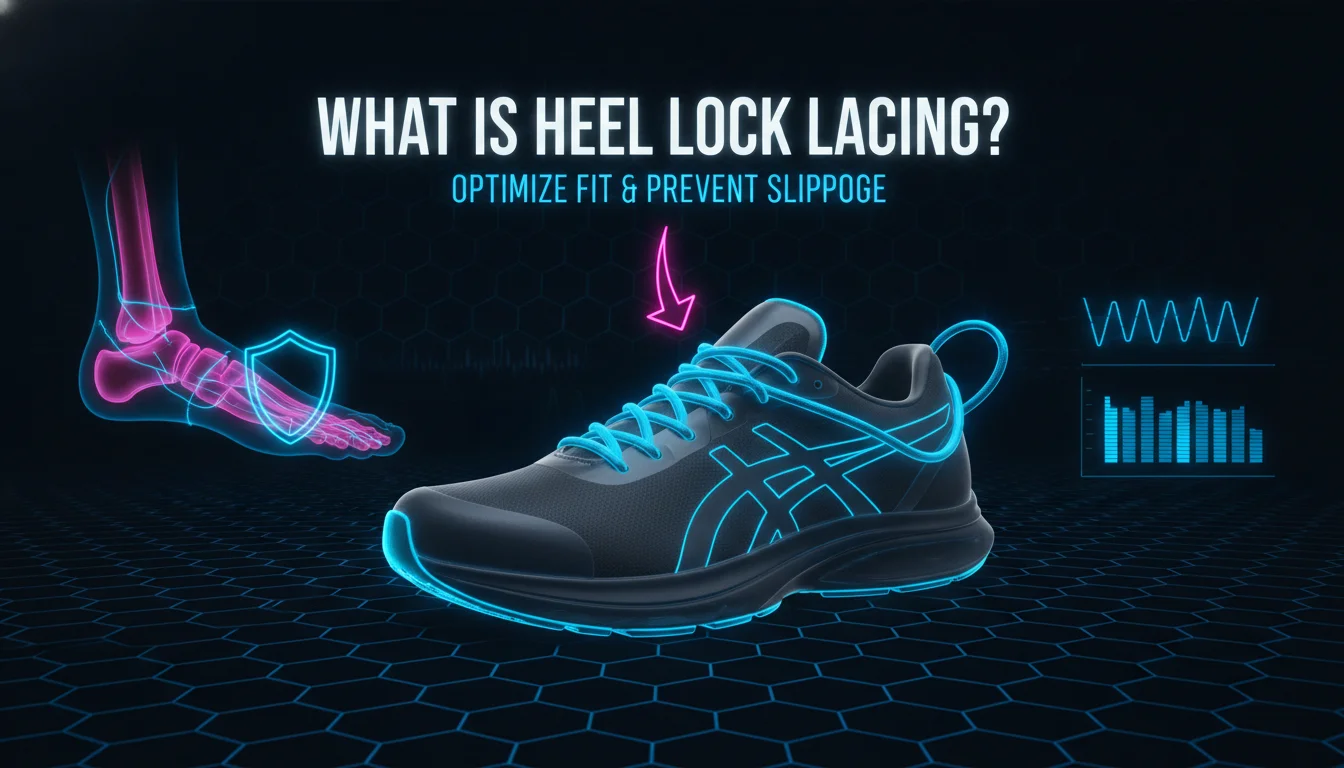
this type of lacing works by turning the small top eyelet on your shoe into a pulley point. Most athletic shoes come with an extra eyelet at the very top, often set slightly higher or offset from the main row. Plenty of people ignore these holes entirely, but they’re built specifically for techniques like this one. The method uses those top eyelets to form a loop that, when pulled, acts like a pulley, creating a firm, adjustable lock around the ankle that holds the heel down against the sole. According to Lock Laces, this technique is also called the Runner’s Loop or Lock Lacing, and it creates a tight, secure finish that stops your foot from sliding forward during runs, especially on downhills.
Common Names and Variations
People call this technique by several different names, but they all describe the same lock. You’ll hear this kind of lacing, lace lock, runner’s loop, marathon loop, or simply heel-lock. A lug version exists too, for shoes with lugs instead of eyelets, following the same principle but adapted to different hardware. Ian’s Shoelace Site details this lug version, noting it’s used by rock climbers and speed skaters for maximum stability. Whatever name you use, the goal stays the same: cinch the heel down and cut internal friction.
How It Prevents Heel Slippage and Blisters
heel lock works as a blister prevention strategy because it stops the sliding motion that causes friction in the first place. When your foot slides inside the shoe, that movement creates heat and shearing forces, and blisters follow. By anchoring the heel, the technique cuts down on that internal movement significantly. Blister Prevention calls it a favorite all-in-one blister prevention strategy because it addresses both heel and toe blisters at once. It also keeps toes from jamming into the front of the shoe, a common cause of black toenails.
“The lock lacing technique stops your heel from rubbing up and down at the back of your shoe, and also stops your toes from jamming into the front,” notes Rebecca Rushton of Blister Prevention, who calls it her favorite all-in-one strategy for foot comfort on the trail.
How to Tie Heel Lock Lacing Step by Step
Step-by-Step Guide with Visual Instructions
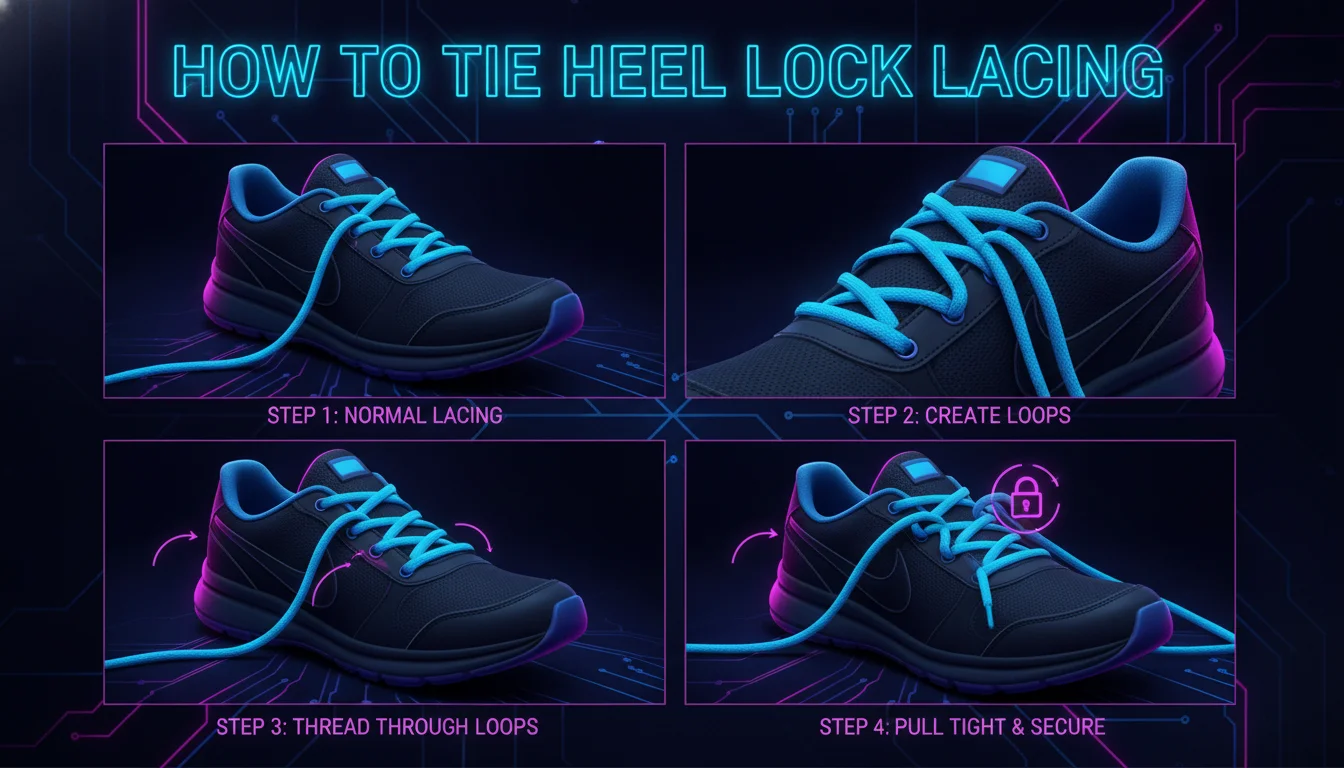
You can master this type of lacing in about five minutes with a bit of practice. Here’s the standard method, outlined by Lock Laces and echoed by running communities like the Instagram account @runtothefinish:
- Lace normally up to the second-to-last eyelet. Use your standard criss-cross pattern (or whatever you prefer) and stop before the final eyelet. If your shoe has an extra eyelet separate from the main row, treat the last of the main eyelets as your second-to-last.
- Create loops on each side. Thread the left lace straight up through the top-left eyelet, entering from the outside and exiting on the inside of the shoe. This forms a vertical loop. Repeat with the right lace through the top-right eyelet.
- Cross the laces through opposite loops. Insert the left lace through the right loop from the outside inward, and the right lace through the left loop. The laces will now cross, each exiting from the opposite loop on the outside of the shoe.
- Pull to tighten. Grab both lace ends and pull them toward your heel to cinch the loops. This draws the vertical sections into a triangular shape, applying leverage that squeezes the shoe around your heel and ankle. Adjust until it’s snug, not painful.
- Tie a normal bow. Once the lock is set, tie your usual knot. The lock holds the tension, so you don’t need to pull extra tight while tying.
Once you’ve practiced it a few times, the whole process takes about a minute per shoe.
Common Mistakes to Avoid
Small errors can make this kind of lacing far less effective, even when you’re following the steps closely. One frequent mistake is forming the loops before lacing the rest of the shoe. Always lace the lower portion first. Another issue is crossing the laces incorrectly. Some people accidentally thread the lace through the same side’s loop, which doesn’t create the lock at all. Over-tightening can cause numbness or bruising on the top of the foot, so aim for firm but comfortable tension. Many people also find their existing laces too short after threading through the top eyelets, leaving little length to tie a bow. If that happens, swap in longer laces, a fix recommended by the Ian’s Shoelace Site.
Adapting the Technique for Different Shoe Types
This lacing pattern works on most footwear, though execution shifts depending on the hardware. Running shoes typically have a distinct second eyelet at the top, making the lock straightforward to set up. Hiking boots often use sturdier hardware like D-rings or hooks; after lacing through the hooks, you can wrap the lace around the final hook to create a loop before crossing. Climbing shoes fit tight by design, so the lock can be applied at the uppermost lace holes, though some climbers skip it since the shoe already fits like a second skin. Even casual sneakers benefit if they have an extra hole; if not, you can improvise by skipping a lower eyelet to form a loop, though this reduces the lock’s effectiveness slightly.
Benefits of Heel Lock Lacing for Runners and Hikers

What Are the Benefits for Runners and Hikers?
heel lock improves stability on uneven terrain and cuts down on blister risk, making it especially useful for trail runners and hikers. Trail runners and hikers frequently encounter slopes, rocks, and uneven ground. Without a secure heel, the foot can slide forward on descents, causing toe bang and a loss of control. This technique addresses that by keeping the foot’s position stable within the shoe, which translates to better balance. This stability can mean the difference between a confident stride and a stumble.
Reduced Risk of Blisters and Black Toenails
Friction is the enemy of foot health, and lock lacing is one of the most effective countermeasures available. When the heel stays put, skin no longer rubs against the shoe’s interior, cutting down on blister formation. At the same time, toes stay clear of the toe box, which is the leading cause of black toenails. Blister Prevention notes this lacing method works especially well for long-distance runners and hikers who spend hours on their feet. Pair it with moisture-wicking socks, and you’ve got a solid combination for multi-day adventures.
Improved Energy Transfer and Performance
A loose heel creates small, repeated movements inside the shoe that quietly drain your energy with every step. Each stride wastes a bit of output because the foot isn’t fully coupled to the shoe. A secure heel lock minimizes this slop, letting more of your muscle power translate into forward motion. Runners might notice a slightly more responsive stride, especially during uphill pushes or sprints, where foot stability matters most. This logic follows basic biomechanics: a tighter, more connected shoe tends to feel more responsive underfoot.
Heel Lock Lacing for Rock Climbers and Other Sports
Rock Climbing: Precision Foot Placement
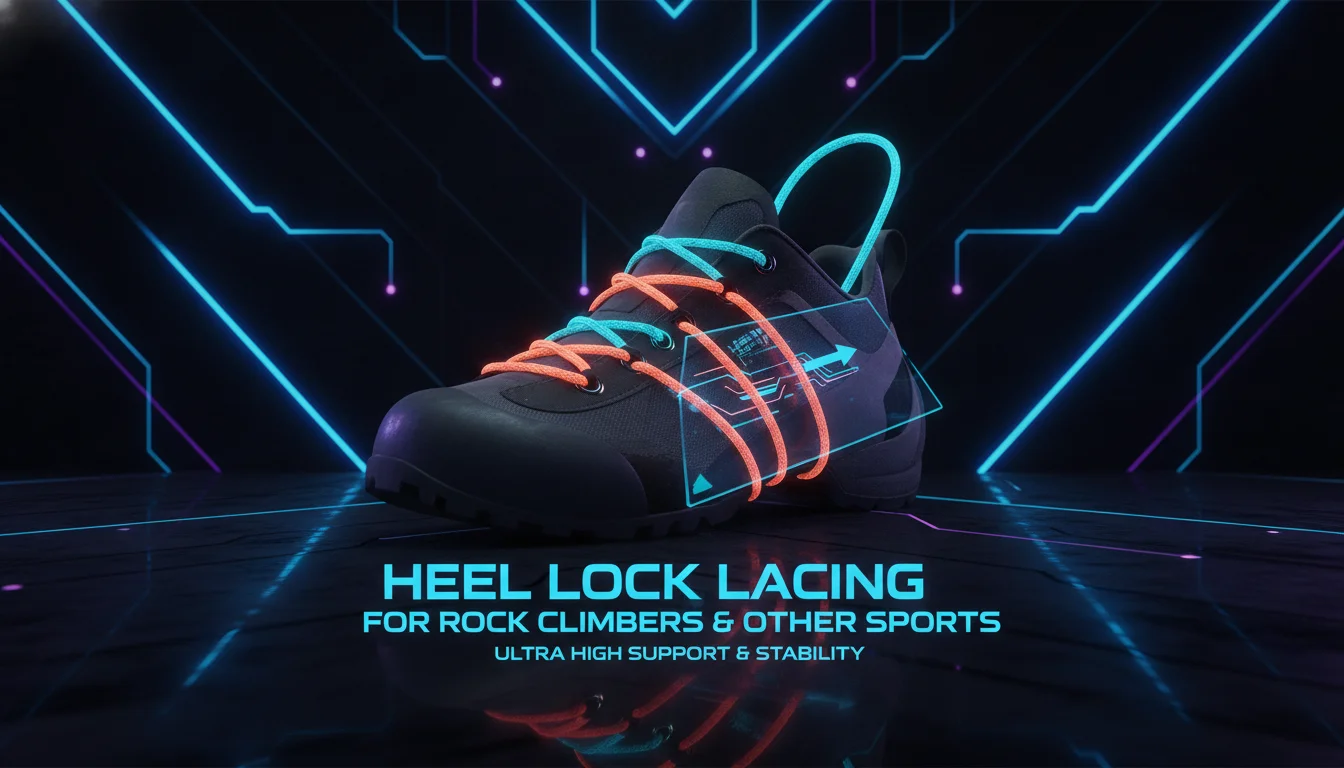
Rock climbers use this type of lacing to prevent the shoe from twisting under stress during aggressive foot placements. In climbing, footwork is everything, and any internal movement inside the shoe reduces a climber’s ability to feel the rock and trust the grip. Ian’s Shoelace Site confirms that lock lacing is used by climbers specifically to prevent shoe twisting. It secures the rearfoot, which sharpens edging and smearing precision. Many climbing shoes are slip-lasted and flexible, so the lock helps maintain shape during aggressive moves.
Speed Skating: Ankle Support
Speed skaters use lock lacing to gain the ankle support needed to handle lateral forces during each stride. According to Ian’s Shoelace Site, lock lacing provides the tightness and stability skaters need around the ankle, which reduces injury risk. In speed skating boots, often low-cut by design, this lacing can make a real difference. It keeps the heel from lifting, maintaining a solid connection between foot, boot, and blade.
Court Sports: Lateral Movement
Sports like basketball, tennis, and volleyball involve rapid changes of direction, and the same locking principle applies well here. By locking the heel, athletes can reduce the chance of rolling an ankle or developing hot spots during intense play. It also keeps the foot from sliding inside the shoe during quick stops and starts, improving overall responsiveness and comfort on the court.
Heel Lock Lacing vs Traditional Criss-Cross Lacing
Understanding the Pulley System
The heel lock’s effectiveness comes down to simple leverage. When you pull the laces tight, the vertical sections running from the loop to the last eyelet become taut. These sections act like pulleys, multiplying the force applied and pulling the sides of the shoe inward with more power than a straight criss-cross would produce. This mechanical advantage creates a concentrated squeeze around the heel and ankle without requiring excessive lace tension elsewhere. Traditional criss-cross lacing distributes force evenly across the foot, which feels comfortable but doesn’t specifically target the heel.
Comparison of Fit and Security
| Feature | this kind of lacing | Traditional Criss-Cross Lacing |
|---|---|---|
| Heel Security | High, locks heel firmly in place | Moderate, may slip during intense activity |
| Ease of Tying | Requires learning two additional steps | Quick and familiar |
| Suitable Activities | Running, hiking, climbing, court sports | Everyday walking, casual use |
| Prevents Blisters | Yes, by reducing shoe movement | Less effective for high-friction activities |
| Lace Length Needed | Slightly longer laces may be needed | Standard lace length |
As the table shows, the lock excels in active scenarios but may be overkill for casual wear around town. The extra lace length requirement is a minor inconvenience, easily solved with longer laces or a lace-lock device.
When to Choose Standard Lacing Instead
Standard criss-cross lacing works just fine if your shoes already fit well and you never notice heel slippage. It’s quicker to tie, and some people find the heel lock a bit cumbersome to undo, especially with stiff laces. People with conditions like plantar fasciitis may need targeted lacing patterns that offload specific pressure points; in those cases, the lock can be combined with other techniques or skipped based on professional advice. For most active people, though, the benefits of the lock far outweigh the few extra seconds it takes to tie.
Troubleshooting Heel Lock Lacing Issues
Laces Too Short: Solutions
Laces running too short is one of the most common complaints about this method, since it uses more length than standard lacing. The Ian’s Shoelace Site provides a table of approximate lace lengths for lock lacing; a shoe with 8 pairs of eyelets may need laces around 146 cm long, longer than what most shoes ship with. If your laces fall short, look for replacements 10-15 cm longer than the originals. Another option is skipping the bottom eyelet set to free up length, though it slightly reduces overall comfort. Lastly, elastic systems like Lock Laces® sidestep the issue entirely with laces that stay put without tying.
Excessive Tightness or Discomfort
It’s easy to overdo it. If you feel pressure on the top of your foot or your foot goes numb, you’ve pulled the loops too tight before locking. A proper heel lock setup should feel snug, not painful; you should still be able to wiggle your toes freely. To fix it, undo the lock, loosen the lower criss-cross section, then re-engage the heel lock with more moderate tension. Make sure the tongue stays centered to avoid lace bite, and if your shoe doesn’t have a padded tongue, try adding a tongue pad.
Managing Difficult Eyelets
Certain shoes, particularly lightweight racers or fashion sneakers, have small or plastic-coated eyelets that make threading the lace through twice a challenge. A lace threader or a bent paperclip can help guide the lace through. If the top eyelet is too tight for a double pass, try a thinner lace instead. For shoes with twin eyelets at the top, use one hole for the loop and the other for the crossing lace, which often simplifies the whole process.
Alternatives to Heel Lock Lacing: Other Lacing Techniques
Wide Feet Lacing
lock lacing alone doesn’t address forefoot pressure, which matters if you have wider feet. Fleet Feet recommends skipping one or two criss-crosses over the widest part of the foot to create extra room. This parallel lacing pattern reduces squeeze without compromising heel security, and it can be combined with a heel lock at the top for a complete fit.
High Instep Lacing
A high instep often feels pinched under standard criss-cross lacing. The fix is lacing the middle section in a straight line, skipping the cross, to relieve pressure on the high point of the arch. Like wide feet lacing, this pairs well with a heel lock at the top, though it may call for longer laces. Fleet Feet notes this technique works well for anyone who feels tightness across the top of the foot.
Toe Pain Relief Techniques
Hammertoes, bunions, or general toe pain call for their own lacing patterns. Diagonal lacing, using the very bottom eyelets, can lift the toe box and relieve pressure on the big toe. Another option is skipping the bottom eyelets entirely to open up the toecap. These adjustments address problems at the front of the foot, while the heel lock focuses on the rear, so the two approaches often work well together. Once you understand the range of lacing techniques available, you can customize your fit to match your own foot shape.
Expert Tips and Gear Recommendations for Heel Lock Lacing
Choosing Shoes with Appropriate Eyelets
Not every shoe is built for this technique, so check for an extra eyelet at the top, usually a small perforation set slightly higher than the main row. Many performance running shoes from brands like ASICS, Brooks, Saucony, and Hoka One One include this feature. Hiking boots from Merrell, Salomon, and Lowa typically have the necessary hardware too. When trying on new shoes, check whether the top eyelet feels accessible and whether the laces look long enough to attempt the lock. Fleet Feet and other specialty running stores can help point you toward models built with this technique in mind.
Lace Types and Lengths
The type of lace matters almost as much as the shoe itself. Flat laces hold knots better and thread more easily through narrow eyelets, while round laces slide more freely and may loosen over time. For a heel lock, a slightly longer flat lace works best. As a rule of thumb, if your current lace ends measure less than 10 cm after tying normally, they’ll likely fall short once you add the lock. The Ian’s Shoelace Site table suggests lengths like 135 cm for 7-pair shoes or 146 cm for 8-pair shoes when using lock lacing. Always measure before buying replacements.
Using Lock Laces® as an Alternative
If you’d rather skip fussing with laces altogether, the Lock Laces® system offers a convenient shortcut. These elastic laces with a locking mechanism turn any athletic shoe into a slip-on with consistent tension. They’re not the traditional heel lock, but they deliver a similar locked-down feeling without retying. Lock Laces itself notes that its product offers support similar to the heel lock technique, minus the complexity.
“Even if your shoes fit perfectly, you may notice your heel sliding when running down uneven surfaces such as hills, causing your toes to slam into the front of your shoe,” according to Lock Laces. “It’s totally preventable with the Heel Lock.”
Triathletes, in particular, favor Lock Laces for quick transitions, and plenty find them sufficient to prevent heel slip during runs. Purists still argue that traditional heel lock lacing gives a more adjustable, precise fit, especially on uneven terrain.
Pros and Cons of Heel Lock Lacing
Pros
- Locks the heel firmly in place, cutting down on slippage during runs, hikes, and climbs
- Reduces friction that leads to blisters and black toenails
- Costs nothing extra since it uses your existing laces
- Works across a wide range of activities, from trail running to court sports
Cons
- Requires longer laces than standard lacing, which can mean an extra purchase
- Takes a few tries to learn correctly, since crossing the laces wrong voids the lock
- Can feel cumbersome to untie quickly, especially with stiff laces
- Not effective for shoes that are significantly oversized
Conclusion: Master Heel Lock Lacing for a Secure Fit
Summary of Key Points
Heel lock lacing is a simple, low-tech solution to one of the most common footwear problems. By using the top eyelets to form a pulley, it locks the heel in place, cutting down on the slippage that can lead to blisters, black toenails, and reduced performance. The technique is easy to learn, adaptable to various shoe types, and useful across a wide range of activities, from trail running to rock climbing. Whether you lace up with traditional cords or opt for an elastic alternative like Lock Laces®, a locked-in heel is within reach.
Final Thoughts on Incorporating Heel Lock Lacing into Your Routine
Next time you put on your running shoes or hiking boots, take a moment to try the heel lock method. It might feel unusual at first, but give it a few outings and your heels will thank you. A proper fit still matters most; heel lock lacing can compensate for minor sizing issues, but it won’t transform an ill-fitting shoe into a perfect one. If foot problems persist, consult a podiatrist or visit a specialty retailer for a professional fitting. With the right combination of shoes, laces, and technique, you’ll stay focused on the trail or road ahead instead of on foot pain.
Frequently Asked Questions
How do I know if I need heel lock lacing?
If your heel lifts or slides inside your shoe when walking or running, especially on hills, heel lock lacing can help. Signs include hot spots on the back of the heel or toes hitting the front of the shoe.
Can I use heel lock lacing on any type of shoe?
Most athletic shoes with a top eyelet are suitable. Casual or fashion shoes may lack the necessary hole, but you can improvise by skipping an eyelet to create a loop.
Will heel lock lacing work if my shoes are too big?
It can reduce slippage, but it cannot fix a severely oversized shoe. For loose shoes, consider adding a tongue pad or heel grip alongside the lacing technique.
Does this lacing require longer laces?
Often yes. The extra threading consumes lace length. If your laces become too short, swap them for longer ones, typically 10-15 cm more than the original.
Is the runner’s knot the same as heel lock lacing?
Yes. The runner’s knot, marathon loop, and lace lock are all alternative names for the same heel-locking lacing technique.
Can I use heel lock lacing with elastic laces?
Elastic laces like Lock Laces are designed to provide a secure fit without tying, so you may not need the heel lock. However, you can still thread elastic laces through the top eyelets in a similar loop pattern if desired.